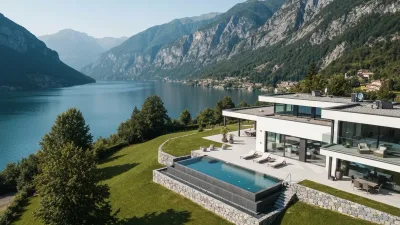

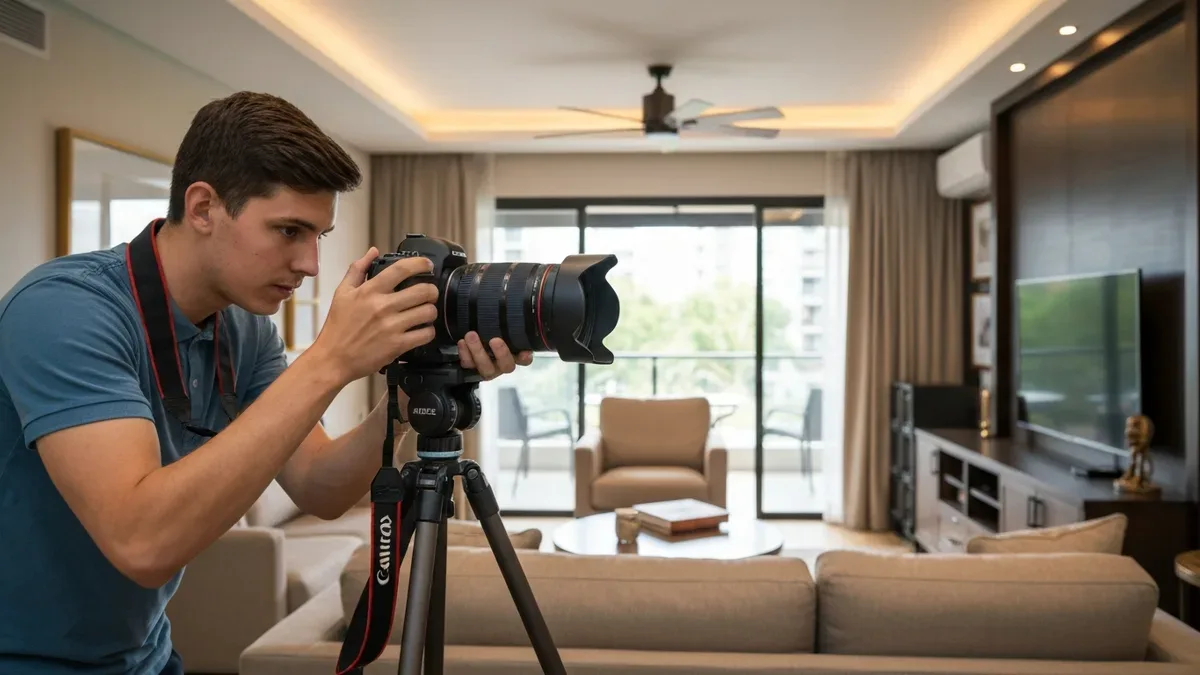
Sofie here. You can have the nicest villa on the block and still lose the booking to a plainer place with better photos — because on Airbnb, the photos are the property until someone walks in the door. Guests decide fast, and they decide from the pictures.
The good news: most listing-photo problems are fixable in an afternoon, no new camera required. Below are 25 of the most common mistakes I see, each shown side by side — the version that quietly costs you bookings, and the fix. The first fifteen are the usual suspects; the last ten are the small pro moves that make a listing look styled instead of snapped.
Work through this alongside our shot list and photo-order guide, and if your place sits at the top of the market, the luxury photography and video playbook goes deeper.
Prep & Declutter
Before you lift the cameraNinety percent of a good listing photo happens before the shutter clicks. Walk the property like a guest would and clear anything that says “someone lives here.”
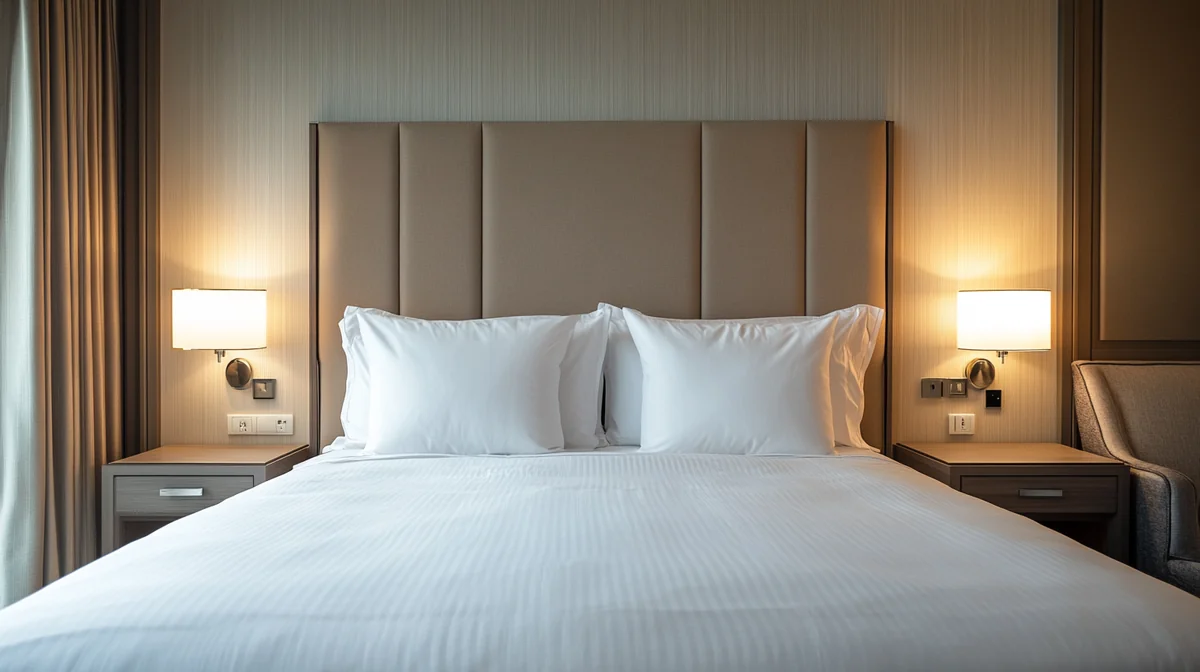
Make the bed
Guests read an unmade bed as “nobody cleaned this.” Pull the duvet tight, stack the pillows evenly, and lay one folded throw across the foot before you shoot.
 NO
NO
 YES
YES
Clear the kitchen counters
A cluttered counter hides the thing guests are actually buying — space. Clear everything off, then add back just one or two nice props.
 YES
YES
Hide the cables and cords
Dangling cables make even a beautiful room look messy. Route them behind the console or bundle them out of frame.
 YES
YES
Get the trash bin out of frame
A bin in the shot is an instant mood-killer. Move it out of frame entirely — not just to the edge.
 YES
YES
Remove personal items
Chargers, pill bottles and remotes tell guests this is someone’s house, not their getaway. Clear every personal item off surfaces.
 YES
YES
Toilet lid down
Lid down, always — it’s the one bathroom rule everyone knows and hosts still forget. Add rolled towels and one plant.
 YES
YES
Wipe the mirrors and glass
Smudged mirrors and spotty glass photograph worse than they look in person. Wipe them streak-free right before the shoot.
 YES
YES
Open the blinds
Closed blinds make a room feel like a cave and throw away your view. Open everything and let the daylight in.
 YES
YES
Tidy the entryway
The entry is the first room guests mentally walk into. Clear the shoe pile and coats so it reads as an arrival, not a mudroom.
 YES
YES
Light It Right
Exposure and mood do the heavy liftingLight is the difference between a room that looks warm and one that looks like a rental listing from 2011. Turn things on, open things up, and get the exposure honest.
Turn every lamp on
Turn on every lamp, even during the day. Layered light reads as warm and lived-in; dark corners read as dreary.
 YES
YES
Kill the glare and reflections
Hotspots and reflections off glass, TVs and frames scream “phone photo.” Shift your angle a few feet until the glare disappears.
 YES
YES
Fix the too-dark photo
An underexposed photo hides the very room you’re trying to sell. Brighten it until every corner is clearly visible.
 YES
YES
Fix the blown-out photo
Blown-out windows and washed walls lose all the detail — and the view. Balance the exposure so windows still show what’s outside.
 YES
YES
Match your bulb colors
Mixing cool white and warm bulbs gives one room two colors. Put the same warm bulb in every fixture before you shoot.
 YES
YES
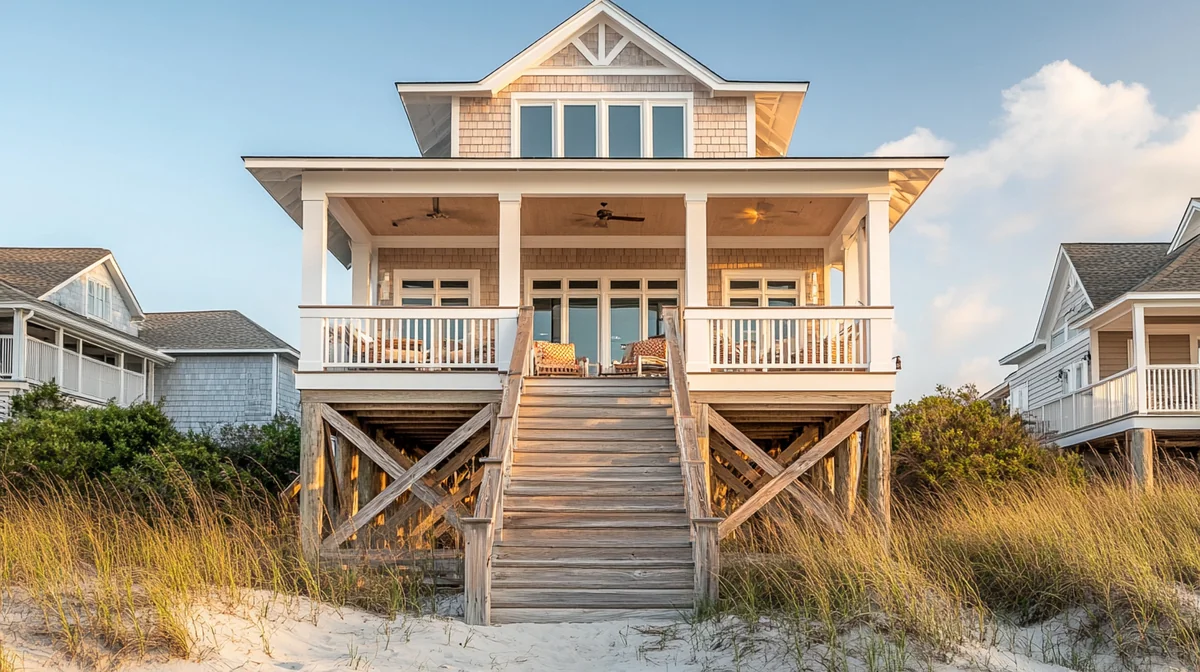
Shoot exteriors at golden hour
Flat midday sun makes exteriors look dull. Shoot at golden hour or dusk with the lights on for a cover shot that stops the scroll.
 YES
YES
Compose the Frame
Where you stand changes everythingSame room, same light — a foot in either direction and a level camera is the whole game. Composition is free, and it separates a snapshot from a shot.
Shoot from the corner
Shooting a flat wall from the middle of the room makes it feel cramped. Back into a corner to capture the whole space and its depth.
 YES
YES
Crop out the awkward feature
One awkward thing — a radiator, a stray doorway, a cluttered edge — can sink a good shot. Recompose to keep it out of frame.
 YES
YES
Keep verticals straight
Tilting the camera up bends the walls and looks amateur. Hold the camera level so every vertical line stays straight.
 YES
YES
Make the view the hero
If you’ve got a view, it’s the hero — don’t shoot with your back to it. Compose so the window and what’s beyond it lead the shot.
 YES
YES
Style Like a Designer
The finishing touches that sell the spaceThese last ten are the small moves a stylist makes on set. None of them cost much, and together they’re the difference between “clean” and “I want to stay there.” For the deeper version, see our interior design guide and the 2027 trends breakdown.
Add soft decor
A bare sofa and empty floor look unfinished. Layer in pillows, a throw and a rug to make the room feel warm and complete.
 YES
YES
Hang art at eye level
Art hung too high leaves a floating gap and shrinks the wall. Drop it to eye level so it anchors the furniture below.
 YES
YES
Hang curtains high and long
Short curtains mounted at the window frame make ceilings look low. Hang them high and let them kiss the floor to add height.
 YES
YES
Add a fresh focal point
Empty surfaces feel staged and lifeless. A vase of fresh stems or a bowl of citrus adds color and a sense of life.
 YES
YES
Set the dining table
A bare or clutter-covered table wastes a whole scene. Set two simple place settings so guests picture themselves there.
 YES
YES
Fill the empty corner
A blank corner is dead space in the photo. Fill it with one tall plant to add height, life and a finished look.
 YES
YES
Do all of this and you’ll have a listing that photographs like the place people save and share. Once your photos are dialed in, keep the momentum: run them through our listing optimization checklist, then put your best shots to work in short-form video and reels.
And when you want those images living on a booking site you actually own — not just on someone else’s platform — that’s what Cavmir builds.