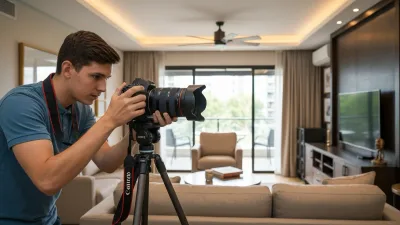

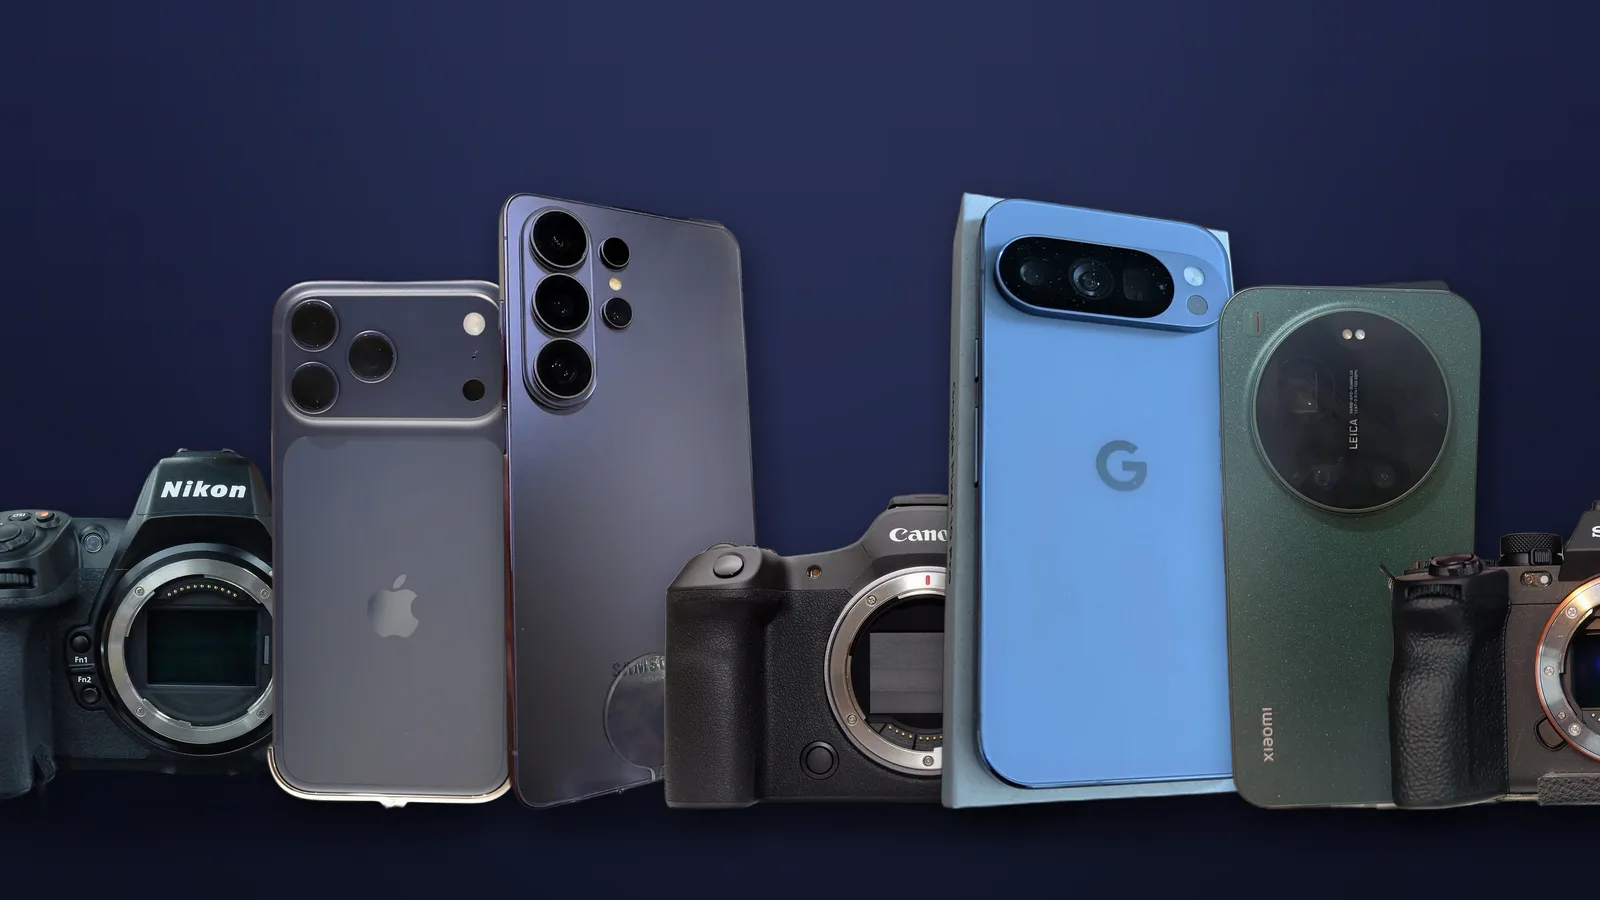
Every host eventually asks some version of the same question: is my phone good enough, or do I need a real camera? It gets asked in Facebook groups, in the middle of a listing rewrite, usually at eleven at night before a photographer quote lands in the inbox. The honest answer is that a recent flagship phone in a well-lit room beats a five-thousand-dollar camera in the hands of someone who does not understand windows. But the gap is not zero, and it shows up in exactly the places that matter to a guest deciding between your place and the one three streets over.
So we scored them. Twenty-one phones and ten professional cameras, each rated on four things a host actually cares about — how good the picture looks, how easy the device is to use, what it costs relative to what it delivers, and how much work the files are to edit afterwards. That last one gets left out of almost every camera guide on the internet, and it is the one that quietly decides whether you ever finish the shoot.
A note on what this guide is not. It is not a lab test. We are not measuring line pairs per millimetre or running a resolution chart. This is a working assessment of what these devices do in real rooms with real light, aimed squarely at short-term rental photography, where the assignment is narrow and specific: make a small room read as spacious, hold onto the view through the window, and keep the walls straight.
Updated September 6, 2026. Apple's iPhone 18 Pro and Pro Max have arrived as the new flagships — a variable-aperture main camera, a longer telephoto reach on the Pro Max, and a faster 2-nanometer chip. For listing work specifically, the lens that shoots your rooms — the 48-megapixel ultra-wide — carries over from the iPhone 17 Pro unchanged, so it is a real upgrade for zoom and low light but an incremental one for interiors. We fold a phone into the scored ranking only once we have shot a full property with it; until then the iPhone 17 Pro and Pro Max stay the value-smart pick for this job, exactly as the table shows. Further out, the 2027 cameras are the ones that could actually move the needle.
If you only read this far
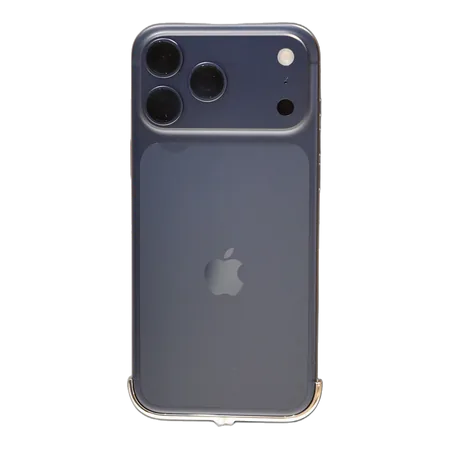 iPhone 17 Pro Max
A 48-megapixel ultra-wide and ProRAW files, in a device you already know how to use.
8.9 / 10 overall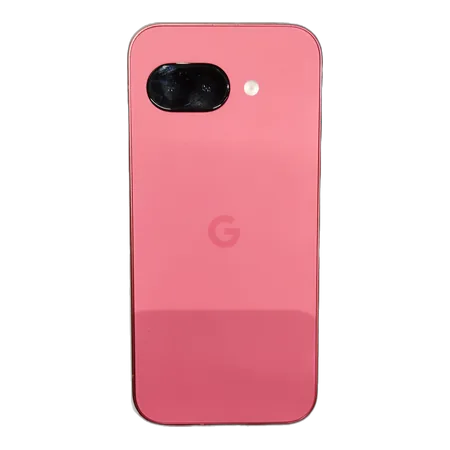 Pixel 9a
Google's window-handling and real RAW capture for around four hundred dollars.
8.2 / 10 overall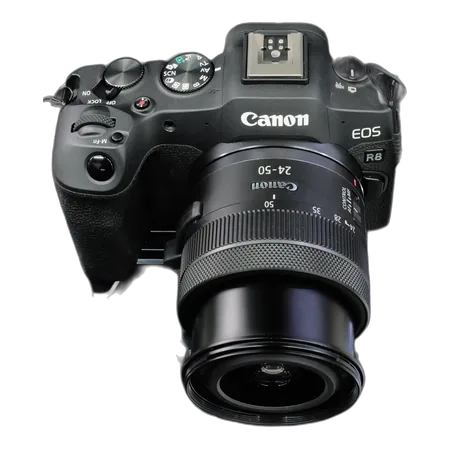 Canon EOS R8
A full-frame sensor and real RAW files for roughly the price of a flagship phone. Put the savings into a wide lens.
8.7 / 10 overall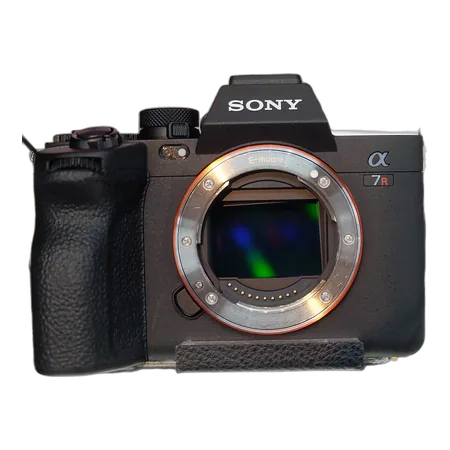 Sony α7R V
Sixty-one megapixels of cropping and correction headroom, for properties where the detail is the product.
8.5 / 10 overallHow we scored every device
Camera reviews usually score for photographers. This one scores for hosts, which means the weighting is different and the reasoning should be visible. Four axes, out of ten each, combined into a single number:
Interior image quality
How the device renders a real room: ultra-wide sharpness into the corners, how much of a bright window it holds onto, whether wall paint and wood grain keep their texture.
Ease of use
How likely a host with no photography training is to get a clean, level, correctly exposed frame on the first try, without reading anything.
Value
Result per dollar at street price. A cheap device that shoots a listing well scores higher here than an expensive one that shoots it slightly better.
Edit-friendliness
How easy the files are to work with afterwards: RAW availability, how much processing is baked in before you get the image, and how far you can push shadows before it breaks.
The overall score is calculated, not assigned — image quality carries forty percent, and ease of use, value and edit-friendliness carry twenty percent each. That weighting is a judgement call and worth saying out loud: it is why an entry-level full-frame body can finish above a flagship that takes a technically better photograph, and why an expensive phone with no ultra-wide lens finishes near the bottom regardless of how good its main camera is.
You can re-sort every list on this page by any single axis. If you only care about image quality, sort by image quality. If you are buying on a budget, sort by value and ignore everything else. The rankings are a starting point, not a verdict on your situation.
Prices move constantly. Everything here is a street price at the time of writing — bodies get discounted, phones get replaced, and used-market values fall fastest in the first year. Treat the value scores as a guide to what a device is worth relative to the others, not as a quote.
The one spec that decides your listing photos
If you take one thing from this guide, take this: for interior photography, the ultra-wide lens is the whole ballgame, and it is the spec almost nobody checks before buying a phone.
Here is why. A living room is maybe four metres across. To photograph it in a way that shows the space rather than a corner of a sofa, you need to stand in a doorway and take in something close to a hundred and twenty degrees of view. Your phone's main camera sees roughly seventy-five. So you tap the 0.5× button, and from that moment on every listing photo you take is coming from the second-best camera on the device.
For years that second camera was an afterthought. Twelve megapixels, no autofocus, a small sensor, and processing that smeared texture the moment the light dropped. It was fine for a landscape at noon and quietly terrible for a north-facing bedroom at four in the afternoon — which is the exact shot every listing needs.
That has changed, and 2025 is the year it changed properly. Apple put a 48-megapixel ultra-wide on the iPhone 17 and 17 Pro. Samsung has been running a 50-megapixel ultra-wide on the Ultra line. Google's Pixel 10 Pro carries a 48-megapixel ultra-wide covering 123 degrees. Honor, Xiaomi, Oppo and vivo all ship 50-megapixel ultra-wides on their flagships. For the first time, the lens you actually need is not the compromised one.
Field of view is the other half of it. Wider is not automatically better — it is a trade. More of the room in frame means more distortion at the edges, which is why a straight wall bows outward in a badly shot 123-degree photo and why furniture near the frame edge looks stretched. Narrower ultra-wides give you straighter lines and less correction work, at the cost of having to back up further, which you often cannot do.
Practically: somewhere between 110 and 120 degrees is the sweet spot for interiors. Below that and small rooms stay hard. Above it and you are correcting distortion on every frame. If you are choosing between two phones and one has a genuinely high-resolution ultra-wide, that is the one — it matters more than the headline megapixel number on the main camera, more than the zoom range, and considerably more than the processor.
The one-question test for any phone: how many megapixels is the ultra-wide, and how wide is it? If the answer is 8 or 12 megapixels, you are buying a phone whose most important lens for this job is its weakest. That is true of most mid-range Android phones and it was true of every non-Pro iPhone until the 17.
The 21 phones, scored
These twenty-one cover what people actually own — the current flagships, last year's flagships now selling used at sensible prices, and the mid-range phones that make up most of the market outside the US. Hover or tap any device to look at it properly, and open the review for the full assessment.
Twenty-one phones, ranked for interiors
Ranked by the weighted overall score. Sort by any single axis, or filter to one brand. Every device is shown at the same scale — hover to look around it, tap on a phone.
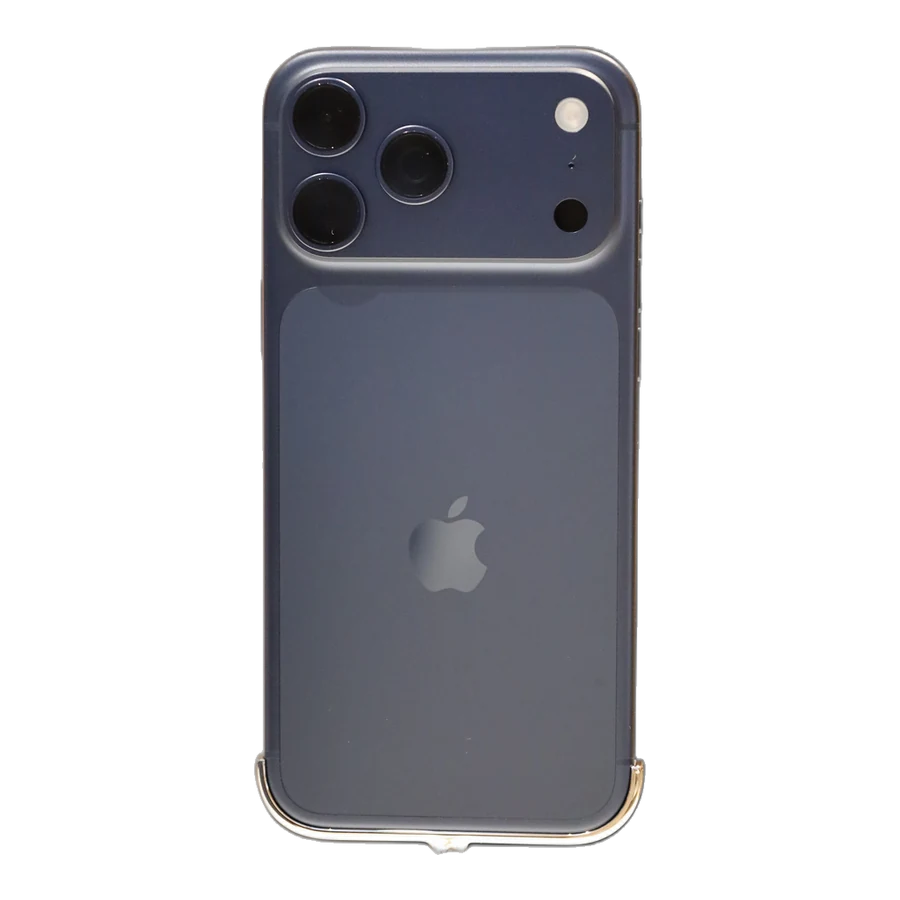
iPhone 17 Pro Max
Best for: The host who wants one device that never becomes the excuse
Apple moved the ultra-wide to 48 megapixels here, and that single change is what matters for interiors. The old 12MP ultra-wide was the weak link in every iPhone listing shoot — soft in the corners, mushy in shadow, first thing to fall apart when you pushed exposure. This one holds up. Shoot ProRAW, keep the 0.5× lens for rooms that genuinely need it, and you have a camera that will out-shoot a careless professional. You are paying flagship money for it.
What works
- 48MP ultra-wide finally holds detail in corners and shadows
- ProRAW gives you a real file to edit, not a baked JPEG
- Window-to-wall exposure handling is the most forgiving on any phone
What does not
- Costs more than a used full-frame body and a wide lens
- The 13mm ultra-wide still bends straight lines near the frame edge
| Ultra-wide | 13mm equivalent, 48MP, f/2.2, 120° field of view |
|---|---|
| Main | 48MP, 1/1.28-inch sensor |
| RAW | ProRAW and ProRAW Max |
| Best listing lens | 1× main for most rooms, 0.5× only for tight ones |
| Photo | Ahmad Ali Karim · CC0 |
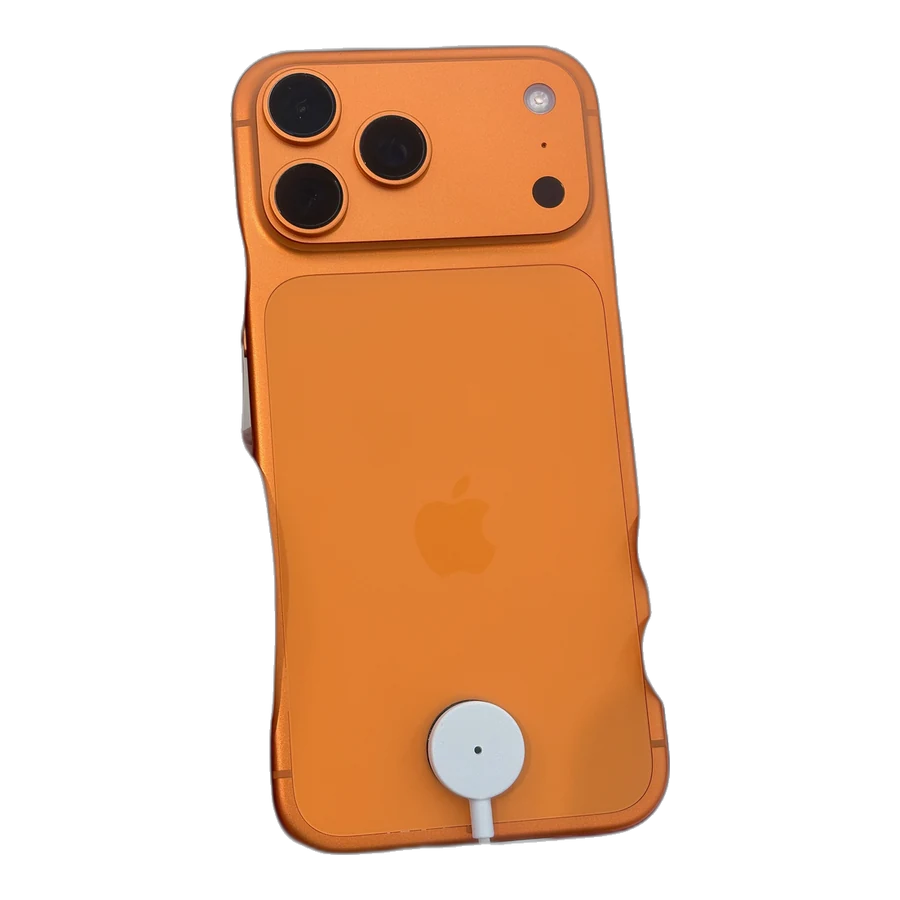
iPhone 17 Pro
Best for: Same photos as the Pro Max, smaller in your hand
Apple documents the 17 Pro and 17 Pro Max on one spec sheet, and for listing work they behave like one phone. You get the same 48MP ultra-wide, the same ProRAW pipeline, the same forgiving behaviour when a window is four stops brighter than the sofa. The Pro Max buys you battery and screen. If you are shooting a two-bedroom condo, not a fourteen-room estate, the smaller body is easier to brace against a doorframe and easier to hold level.
What works
- Identical camera system to the Pro Max for a hundred dollars less
- Easier to hold steady at chest height, which is where you should be shooting
- ProRAW files behave predictably in Lightroom
What does not
- Still flagship pricing
- Smaller battery matters on a long multi-property day
| Ultra-wide | 13mm equivalent, 48MP, f/2.2, 120° field of view |
|---|---|
| Main | 48MP, 1/1.28-inch sensor |
| RAW | ProRAW and ProRAW Max |
| Best listing lens | 1× main for most rooms |
| Photo | Kyu3a · CC BY-SA 4.0 |
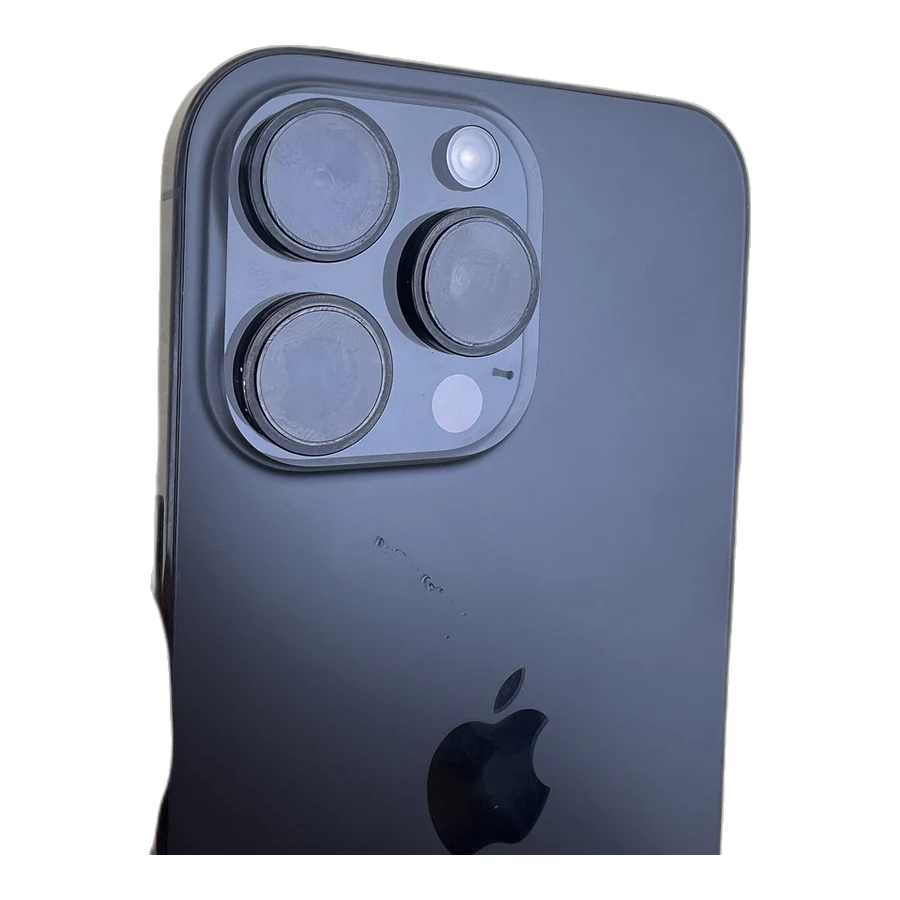
iPhone 16 Pro Max
Best for: The value play in Apple's Pro line right now
The 16 Pro Max was where Apple first put 48 megapixels on the ultra-wide, and used prices have come down a long way since the 17 landed. For listing photography, the gap between this and the current Pro is small enough that you would struggle to pick them apart in a gallery at Airbnb's display size. ProRAW is here, the ultra-wide is sharp, and you are spending meaningfully less. This is the one to look for secondhand.
What works
- 48MP ultra-wide and full ProRAW at a used-market price
- Effectively current-generation results for listing work
- Widely available refurbished with warranty
What does not
- Buying used means checking battery health and lens glass
- Slightly behind the 17 Pro in the hardest backlit scenes
| Ultra-wide | 13mm equivalent, 48MP |
|---|---|
| Main | 48MP |
| RAW | ProRAW |
| Best listing lens | 1× main, 0.5× for tight rooms |
| Photo | メイド理世 · CC BY-SA 2.0 |

Pixel 10 Pro
Best for: Hosts who want the phone to do the thinking and still get a real file
Google's computational photography is still the best in the business at the exact problem interiors present — a bright window and a dark corner in the same frame. The 48MP ultra-wide covers 123 degrees, wider than Apple's, and it focuses close enough to double as your detail-shot lens. Files come out looking natural rather than punched up. The trade is that Google's HDR merge is doing a lot of work before you ever see the image, so a DNG from a Pixel is less blank a canvas than one from a Samsung or a real camera.
What works
- Best-in-class handling of bright windows against dark interiors
- 123° ultra-wide is the widest useful field of view on this list
- Colour comes out believable instead of oversaturated
What does not
- Computational merge happens before you get the file, which limits how far you can push it
- Ultra-wide distortion at 123° needs correcting on straight walls
| Ultra-wide | 48MP, 123° field of view, macro focus |
|---|---|
| Main | 50MP |
| RAW | DNG via Pro controls |
| Best listing lens | Ultra-wide, then straighten in editing |
| Photo | Fabe56 · CC BY-SA 4.0 |

Pixel 11 Pro
Best for: Pixel owners buying new — though the 10 Pro shoots a room the same way for less
The 2026 Pixel flagship, and for listing work it is the Pixel 10 Pro again — which is not the insult it sounds like. The 48MP ultra-wide still covers 123 degrees, the widest useful field of view on this list, and it still focuses close enough to double as your detail lens. Google's handling of a bright window against a dark corner is as good as it has ever been. What is genuinely new — a sharper 5× periscope, the Tensor G6 chip, the HiLight LED on the back — is real, and none of it photographs a bedroom. If you are choosing on photo capability for a rental, the 10 Pro does the same job for less and the difference buys a tripod and a set of matched bulbs. Buy this one because you were replacing your phone anyway, not to shoot better rooms.
What works
- 123° ultra-wide is still the widest useful field of view here
- Best-in-class handling of bright windows against dark interiors
- Close-focusing ultra-wide doubles as a detail-shot lens
What does not
- The gains over the 10 Pro are zoom and chip, neither of which helps interiors
- Google's computational merge still happens before you get the DNG
- New-flagship price for last year's photographic result
| Ultra-wide | 48MP, 123° field of view, macro focus |
|---|---|
| Main | 50MP, f/1.7 |
| RAW | DNG via Pro controls |
| Best listing lens | Ultra-wide, then straighten in editing |
| Image | Vector render · Mliu92 · CC BY-SA 4.0 |
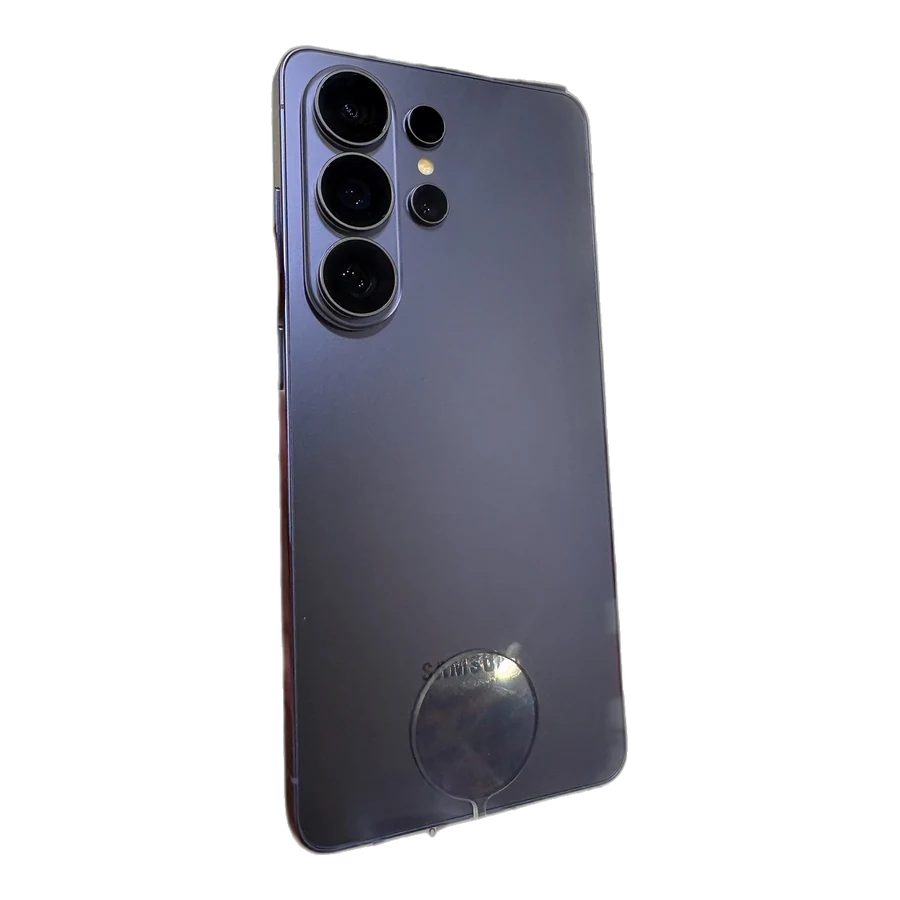
Galaxy S26 Ultra
Best for: Hosts who want to control the shot instead of trusting the phone
The most capable phone on this list for someone willing to learn it. The 50MP ultra-wide covers 120 degrees and holds together far better than any 12MP ultra-wide, the 200MP main sits behind a fast f/1.4 lens, and Expert RAW gives you real DNG files with manual exposure and proper bracketing. The catch is Samsung's default processing, which leans sharp and saturated in a way that reads as "phone photo" the moment you put it beside a properly edited file. Shoot Expert RAW and that problem disappears.
What works
- 50MP ultra-wide is the best wide lens on any mainstream phone
- Expert RAW gives genuine DNG files and manual control
- Bright f/1.4 main lens handles dim interiors well
What does not
- Default processing oversharpens — you have to opt out of it
- Expert RAW is a separate download, not the camera app you open by habit
- Most expensive phone here
| Ultra-wide | 50MP, f/1.9, 120° field of view |
|---|---|
| Main | 200MP, 1/1.3-inch, f/1.4 |
| RAW | Expert RAW — 12-bit DNG |
| Best listing lens | Ultra-wide at 0.6× to keep edge distortion down |
| Photo | Kyu3a · CC BY-SA 4.0 |
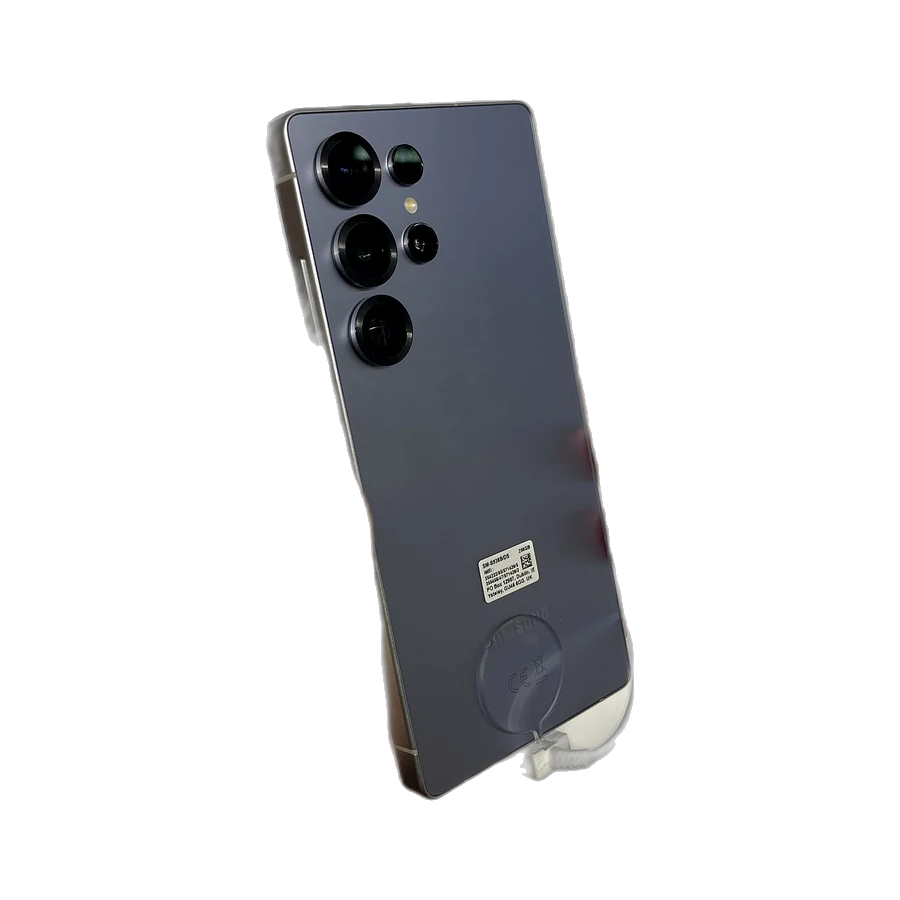
Galaxy S25 Ultra
Best for: The same toolkit as the S26 Ultra for noticeably less
Samsung's 2025 flagship already had the 50MP ultra-wide and Expert RAW, which are the two things that matter here. The S26 Ultra refined the main camera and the processing; it did not change what this phone can do in a bedroom. If you are choosing between them on photo capability alone, the S25 Ultra is the better spend and the difference buys you a solid tripod and a set of light bulbs that will improve your photos more than the newer sensor would.
What works
- 50MP ultra-wide and Expert RAW at last-generation pricing
- Wide zoom range covers detail shots and exteriors
- Excellent screen for checking verticals on site
What does not
- Same aggressive default processing as the S26
- Large and heavy for one-handed shooting
| Ultra-wide | 50MP, 120° field of view |
|---|---|
| Main | 200MP |
| RAW | Expert RAW — DNG |
| Best listing lens | Ultra-wide at 0.6× |
| Photo | Jakub CA · CC BY 4.0 |
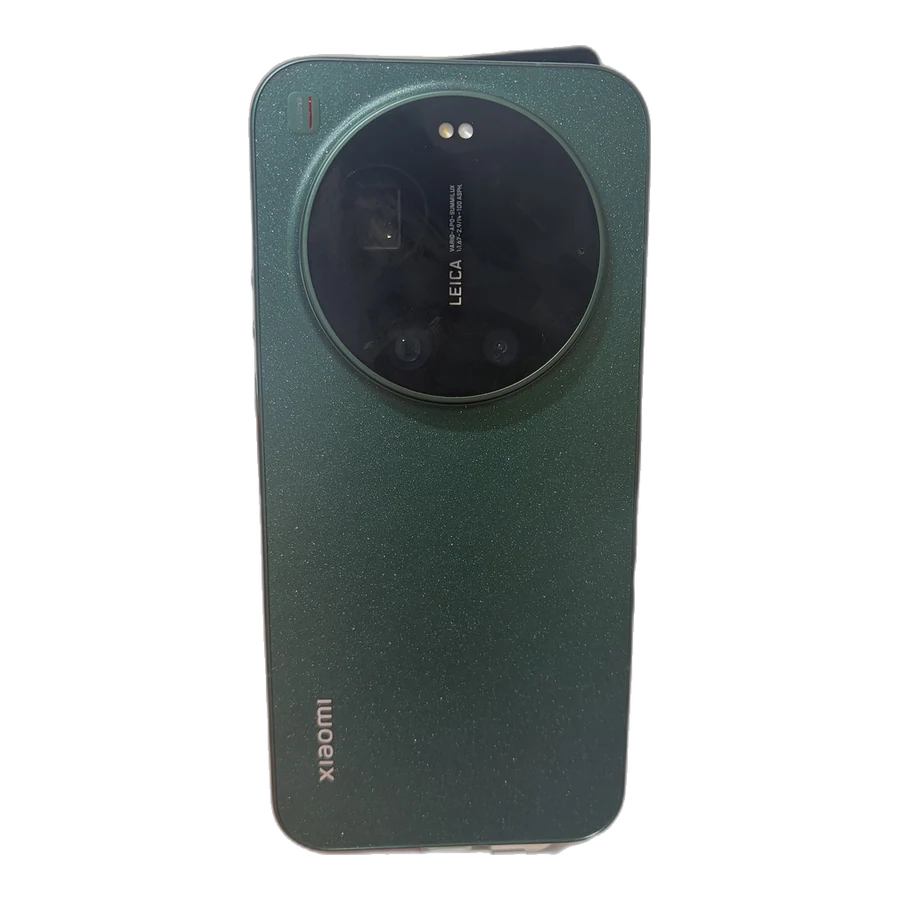
Xiaomi 17 Ultra
Best for: The best pure camera on a phone, if you can live with importing it
On raw imaging this is the strongest phone here. A 1-inch main sensor, a 50MP autofocusing ultra-wide at 14mm, Leica colour science and a proper manual mode with DNG output. In a dim room it simply gathers more light than anything else on this list. The problems are practical rather than photographic: limited official availability in the US, a camera app with more depth than a first-time user wants, and support that is harder to reach when something goes wrong.
What works
- 1-inch main sensor collects real light in dim rooms
- 50MP ultra-wide with autofocus doubles as a detail lens
- Leica profiles give you a genuinely good starting point
What does not
- Awkward to buy and support in the US
- The camera app assumes you know what you are doing
- Software updates and warranty are less predictable
| Ultra-wide | 14mm equivalent, 50MP with autofocus, 115° |
|---|---|
| Main | 50MP, 1-inch Light Fusion 1050L, f/1.67 |
| RAW | DNG, plus Leica colour profiles |
| Best listing lens | Ultra-wide for rooms, main for anything you can step back from |
| Photo | 茅野ふたば · CC BY-SA 4.0 |
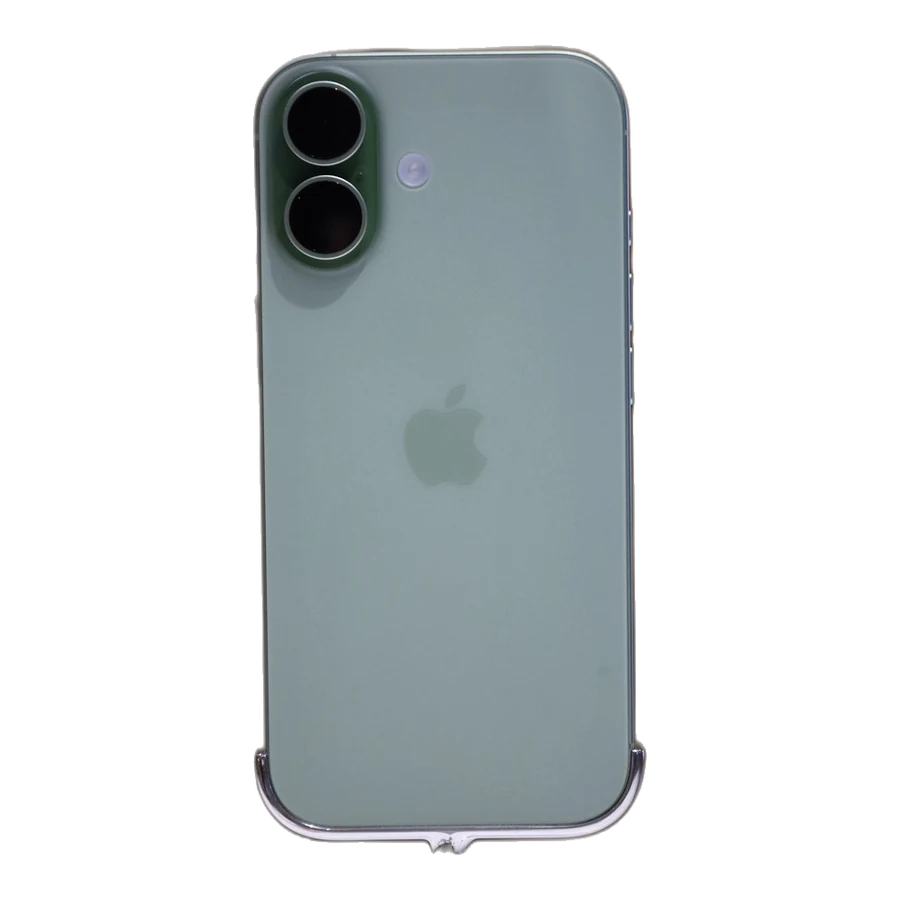
iPhone 17
Best for: The best listing camera per dollar in Apple's lineup
This is the quiet story of the 2025 lineup. The non-Pro iPhone 17 got the 48MP ultra-wide too, which means the lens you actually need for a small bedroom is no longer the compromised one. What you give up is ProRAW. You are editing a processed file, so heavy shadow lifts get noisy faster and Apple's colour decisions are harder to undo. For most hosts shooting their own place, that trade is worth four hundred dollars.
What works
- Gets the 48MP ultra-wide that used to be Pro-only
- Point-and-shoot simplicity — genuinely hard to get a bad frame
- Several hundred dollars less than the Pro
What does not
- No ProRAW, so you are editing a file Apple already finished
- Shadow recovery runs out sooner than the Pro
| Ultra-wide | 13mm equivalent, 48MP |
|---|---|
| Main | 48MP Fusion |
| RAW | None — HEIF/JPEG |
| Best listing lens | 1× main, 0.5× for tight rooms |
| Photo | Ahmad Ali Karim · CC0 |
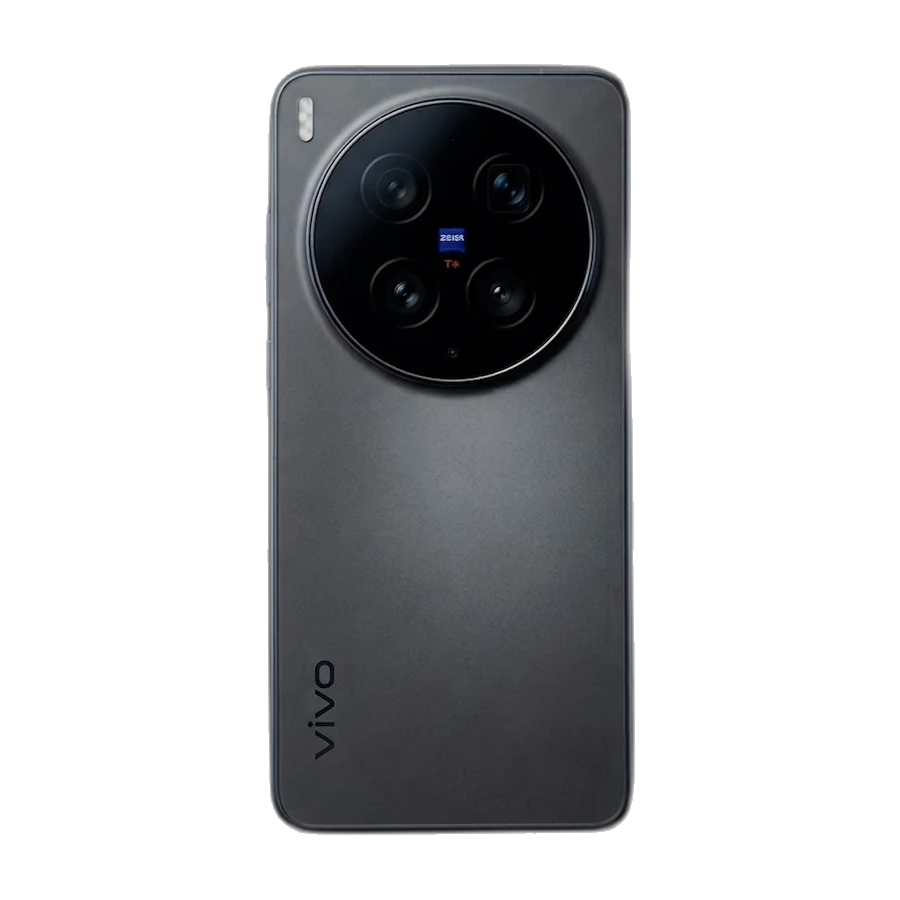
vivo X300 Pro
Best for: Photographers who will actually use manual mode
vivo builds cameras for people who care, and the X300 Pro shows it — large sensors across the lens set, Zeiss optics, and a manual mode deep enough to shoot a proper bracketed sequence. For a host who wants to learn the craft rather than tap a button, it rewards the effort. For a host who wants to photograph a condo in forty minutes on a Tuesday, the interface will slow you down and the import logistics will annoy you.
What works
- Large sensors across the lens set, including the ultra-wide
- Zeiss optics keep corners clean
- Serious manual controls and RAW output
What does not
- Hard to buy and support outside Asia and parts of Europe
- Steeper learning curve than any Apple or Google phone
- Software localisation is inconsistent
| Ultra-wide | 50MP |
|---|---|
| Main | 50MP, large-format sensor |
| RAW | DNG with full manual control |
| Best listing lens | Ultra-wide, bracketed manually |
| Photo | Sororoty928 · CC0 |
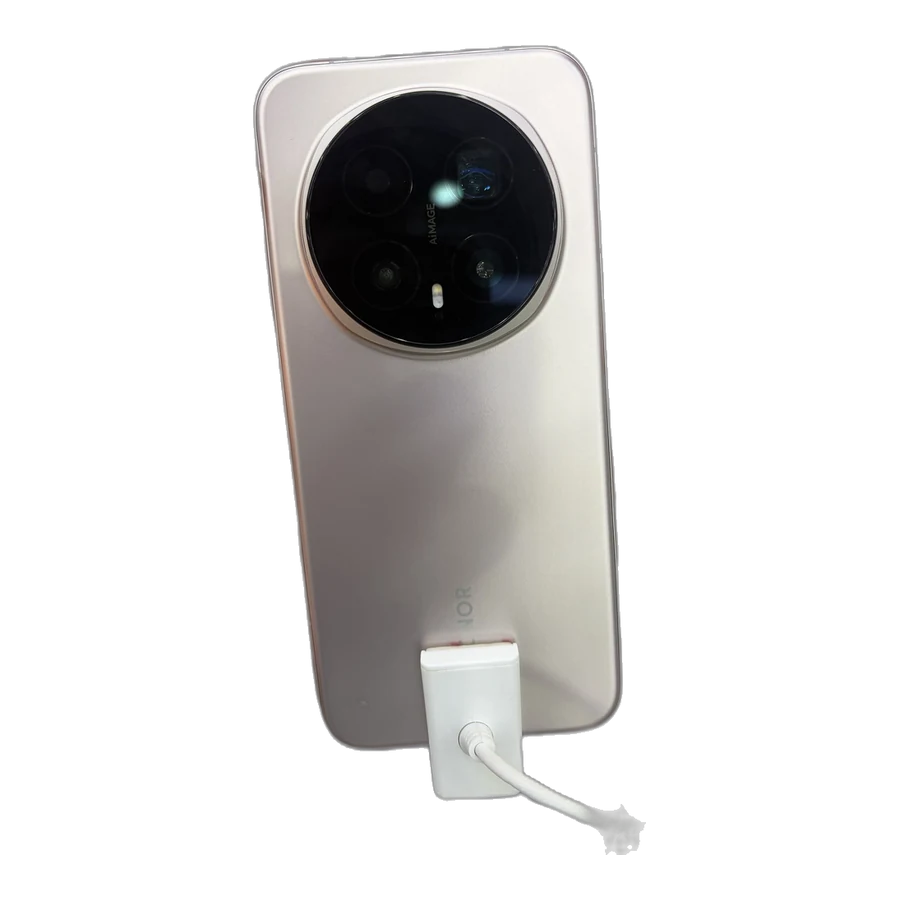
Honor Magic 8 Pro
Best for: The widest genuinely good ultra-wide you can buy on a phone
A 50MP ultra-wide at 12mm equivalent and 122 degrees is an unusual combination — most phones give you either the resolution or the width, not both. For awkward layouts, galley kitchens and bathrooms you cannot back out of, that is a real advantage. Honor's processing is a little heavy-handed out of the box and US availability is limited, but on the specification that matters most for interiors this phone is near the top of the list.
What works
- 12mm, 122° ultra-wide at 50MP — width and resolution together
- Strong low-light performance across all lenses
- RAW capture with usable manual controls
What does not
- Limited official US availability and support
- Default processing is punchy and needs dialling back
- At 122° you will be correcting distortion on straight walls
| Ultra-wide | 12mm equivalent, 50MP, 122° field of view |
|---|---|
| Main | 50MP |
| RAW | DNG |
| Best listing lens | Ultra-wide, corrected in post |
| Photo | 茅野ふたば · CC BY-SA 4.0 |
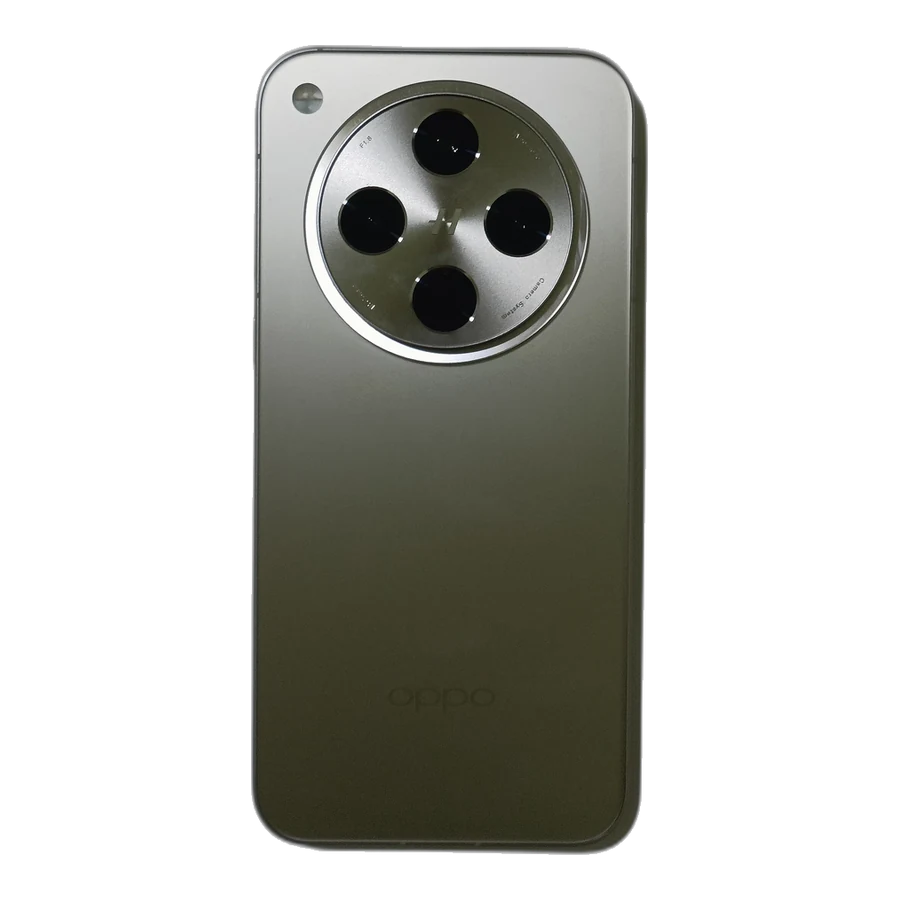
Oppo Find X9
Best for: A balanced camera phone that does not fight you
Oppo's Find X9 is the sane one in this group — a 50MP ultra-wide, Hasselblad colour tuning, RAW when you want it, and an interface that does not require a manual. It will not out-resolve the Xiaomi or out-width the Honor, but it gets straight, natural-looking rooms with less fiddling than either. If you are shopping the import market and want something predictable, start here.
What works
- 50MP ultra-wide with even, natural rendering
- Colour tuning that does not need undoing
- Easier to live with than most import flagships
What does not
- Limited US availability
- Nothing here is class-leading — it is just consistently good
| Ultra-wide | 50MP |
|---|---|
| Main | 50MP |
| RAW | DNG |
| Best listing lens | Ultra-wide for rooms, main for detail |
| Photo | Leongyy02 · CC BY-SA 4.0 |
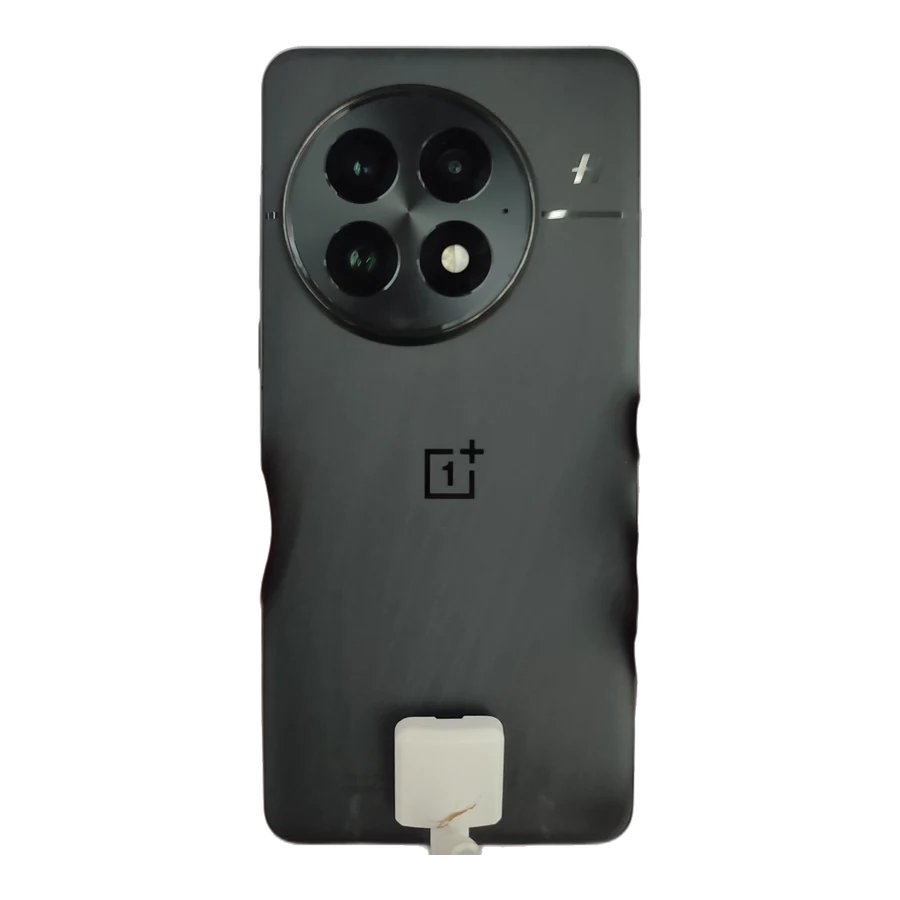
OnePlus 15
Best for: A flagship-feeling shoot without flagship pricing
Solid and sensible. The 50MP ultra-wide is a real one, not a token, and RAW capture is there when you want it. The catch for interiors is the field of view: at 16mm equivalent and 116 degrees, it is the narrowest ultra-wide among the flagships here, so the tightest rooms will still feel tight. In exchange you get less edge distortion than the 120-plus-degree lenses, which means straighter walls and less correcting later.
What works
- 50MP ultra-wide with usable resolution
- Less edge distortion than wider lenses, so verticals stay straighter
- Priced below the phones it competes with
What does not
- 116° is the narrowest ultra-wide among the flagships — small rooms stay hard
- Colour tuning is less consistent than Apple or Google
| Ultra-wide | 16mm equivalent, 50MP, f/2.0, 116° |
|---|---|
| Main | 50MP |
| RAW | DNG |
| Best listing lens | Ultra-wide, and step back further than you think you need to |
| Photo | Maksdroider · CC BY-SA 4.0 |
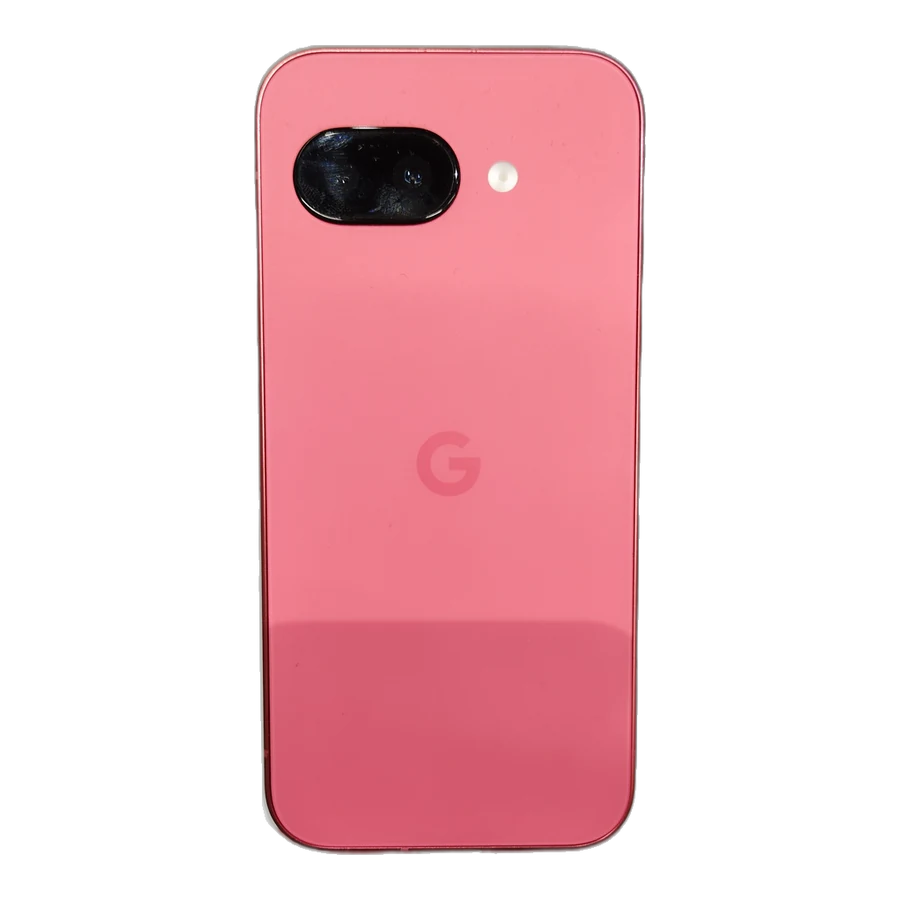
Pixel 9a
Best for: The cheapest phone here that still gives you a usable RAW file
The best value on the phone list, and it is not particularly close. You get Google's processing — which is the part that actually rescues a backlit living room — plus RAW capture, for around four hundred dollars. The 13MP ultra-wide is modest and you will notice it in a small bathroom. Everywhere else, this phone punches so far above its price that recommending anything more expensive to a one-property host takes some explaining.
What works
- Google's HDR handling at a fraction of flagship money
- RAW capture at this price is rare
- Small and light, so handheld frames stay level
What does not
- 13MP ultra-wide is the compromise you paid for
- Slower to shoot a bracketed sequence than a flagship
| Ultra-wide | 13MP |
|---|---|
| Main | 48MP |
| RAW | DNG |
| Best listing lens | Main camera; ultra-wide only when the room demands it |
| Photo | Maksdroider · CC BY 4.0 |
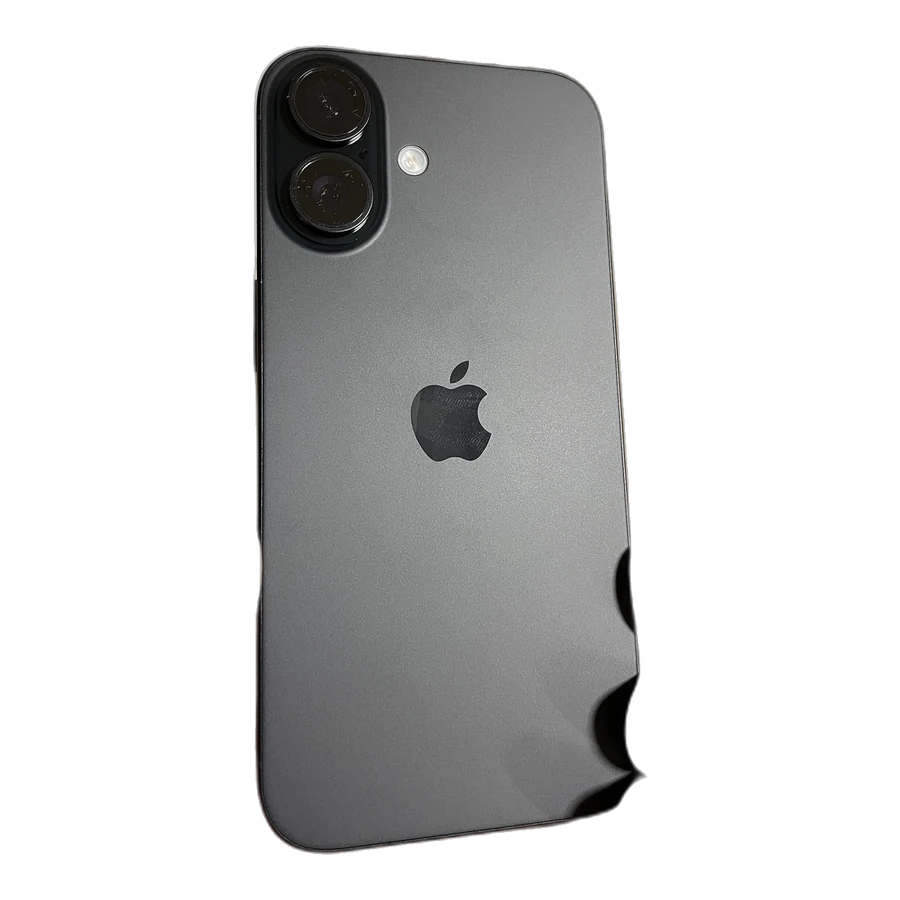
iPhone 16
Best for: Hosts who already own one and want to know if it is enough
Good enough, with a real ceiling. The 48MP main camera is excellent and the 12MP ultra-wide is the old one — fine in a bright living room at midday, visibly soft and noisy in a north-facing bedroom at four o'clock. The practical answer is to shoot as much as you can on the main lens and only reach for 0.5× when the room truly requires it. If you already own this phone, do not upgrade for photos alone. Buy a tripod instead.
What works
- Strong main camera and effortless handling
- Now sits at a genuinely reasonable price
- Plenty for bright, well-proportioned rooms
What does not
- 12MP ultra-wide is the weak link and it shows in small rooms
- No ProRAW
| Ultra-wide | 13mm equivalent, 12MP |
|---|---|
| Main | 48MP |
| RAW | None — HEIF/JPEG |
| Best listing lens | 1× main whenever you can get away with it |
| Photo | Kyu3a · CC BY-SA 4.0 |
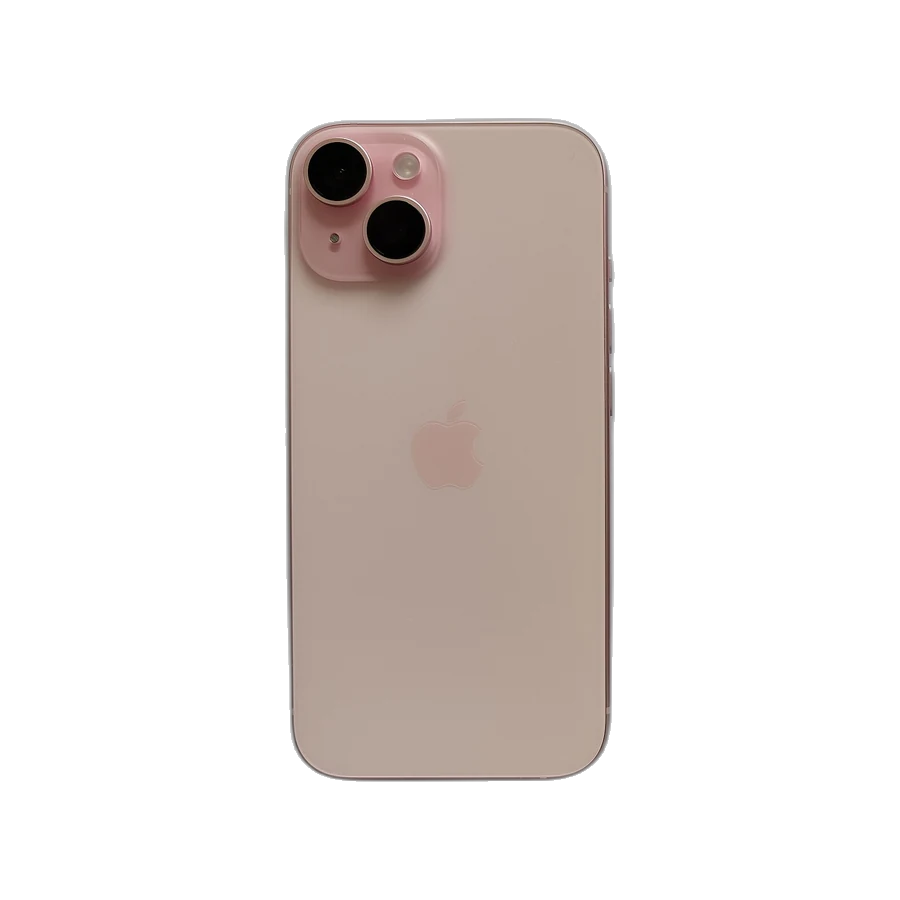
iPhone 15
Best for: A first listing shoot on a phone you may already have
Three years on, the iPhone 15 still takes a listing photo that will not embarrass you — provided you shoot in good light and stop expecting the ultra-wide to save a cramped room. The 48MP main camera is the same basic idea Apple still ships. What has moved on is shadow handling and ultra-wide resolution. As a used buy for a host with one property, it is a lot of camera for the money, and the money is better spent on lighting the room properly.
What works
- Cheap on the used market and still very capable in daylight
- 48MP main camera holds real detail
- Familiar, foolproof interface
What does not
- 12MP ultra-wide struggles in dim interiors
- No ProRAW
- Older battery on most used units
| Ultra-wide | 13mm equivalent, 12MP |
|---|---|
| Main | 48MP |
| RAW | None — HEIF/JPEG |
| Best listing lens | 1× main, shoot mid-morning |
| Photo | IPHONE 15 · CC BY-SA 4.0 |

Galaxy Z Fold 7
Best for: Editing on the unfolded screen more than shooting with it
The 200MP main camera is genuinely good and the unfolded screen is the best thing on any phone for reviewing and editing a set before you upload. The ultra-wide, though, is the older 12MP part, and that is the lens you lean on most in small rooms. You are also paying a folding-screen premium that has nothing to do with photography. Great second screen, expensive first camera.
What works
- Big unfolded screen makes on-site culling and editing genuinely pleasant
- Strong 200MP main camera
- Expert RAW available
What does not
- 12MP ultra-wide is the wrong lens to be compromising on
- You are paying a lot for a hinge, not a camera
| Ultra-wide | 12MP |
|---|---|
| Main | 200MP |
| RAW | Expert RAW — DNG |
| Best listing lens | Main camera; treat the ultra-wide as a last resort |
| Photo | Matabalt · CC0 |
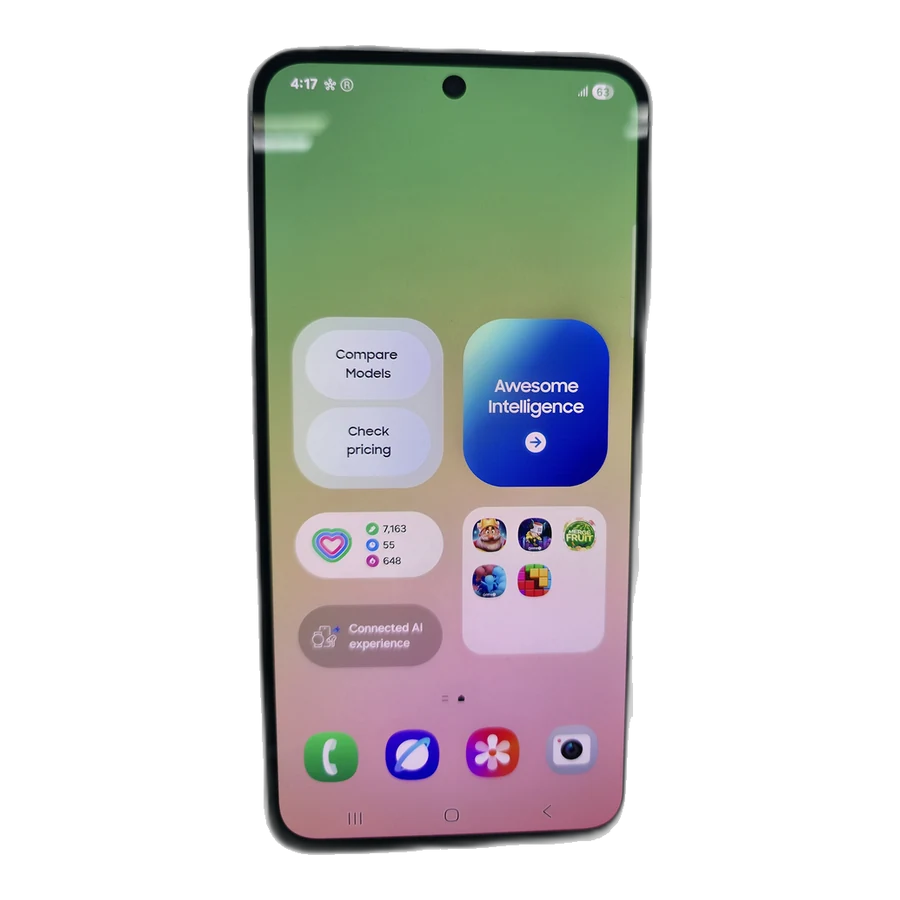
Galaxy A56
Best for: A single property, shot in good light, on a real budget
Samsung's mid-range does what mid-range phones do: a good main camera, a serviceable 12MP ultra-wide, and processing you cannot switch off because Expert RAW does not come to the A-series. Shoot it at ten in the morning with the curtains open and the results are perfectly listable. Shoot it at dusk and the ultra-wide falls apart. At this price that is a fair deal — just do not expect to rescue anything in editing afterwards.
What works
- Very good value if photography is one job among many
- Handles bright, daylit rooms without complaint
- Light and easy to hold level
What does not
- No RAW, so the JPEG is the final answer
- Ultra-wide gets noisy quickly indoors
- Processing bakes in sharpening you cannot remove
| Ultra-wide | 12MP |
|---|---|
| Main | 50MP |
| RAW | None |
| Best listing lens | Main camera, in daylight |
| Photo | Captainmorlypogi1959 · CC BY-SA 4.0 |

Motorola Edge 60 Pro
Best for: A mid-range Android that did not skimp on the wide lens
Motorola's Edge line is one of the few mid-range families that puts a high-resolution ultra-wide on the back instead of a token 8MP part, and for interior work that decision matters more than anything else on the spec sheet. Processing is the limiting factor — it smooths texture in a way that flattens wood grain and fabric. Good value, honest camera, and a reminder that the second lens is worth checking before you buy any phone in this price range.
What works
- High-resolution ultra-wide at a mid-range price
- Clean, uncluttered camera app
- Comfortable to hold steady
What does not
- Processing smooths fine texture — wood and fabric lose character
- RAW support is limited
- Falls behind quickly in low light
| Ultra-wide | 50MP class |
|---|---|
| Main | 50MP |
| RAW | Limited |
| Best listing lens | Ultra-wide in daylight, main after dark |
| Photo | Meniirtjakarintan · CC BY-SA 4.0 |
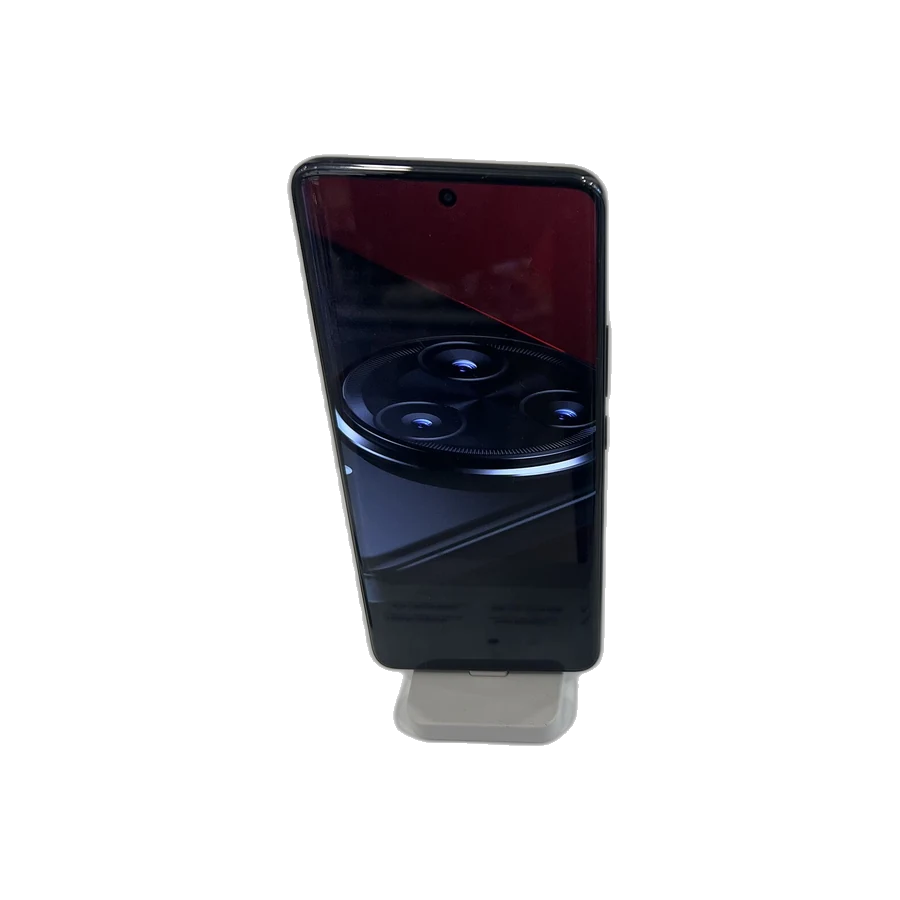
Redmi Note 14 Pro+
Best for: Everything except the room-wide shot
A 200-megapixel headline number attached to an 8-megapixel-class ultra-wide, which tells you exactly where the money went. The main camera is fine. The lens you need for a bedroom is not. This is the pattern across almost every budget Android: the spec that sells the phone is not the spec that shoots your listing. If this is what you own, shoot everything on the main camera from a doorway and accept that some rooms will need two frames.
What works
- Genuinely cheap
- Main camera is respectable in daylight
- Long battery life for a full shoot day
What does not
- Low-resolution ultra-wide is a hard ceiling for interior work
- Heavy processing you cannot turn off
- Little useful RAW support
| Ultra-wide | 8MP class |
|---|---|
| Main | 200MP |
| RAW | Limited |
| Best listing lens | Main camera only |
| Photo | 茅野ふたば · CC BY-SA 4.0 |
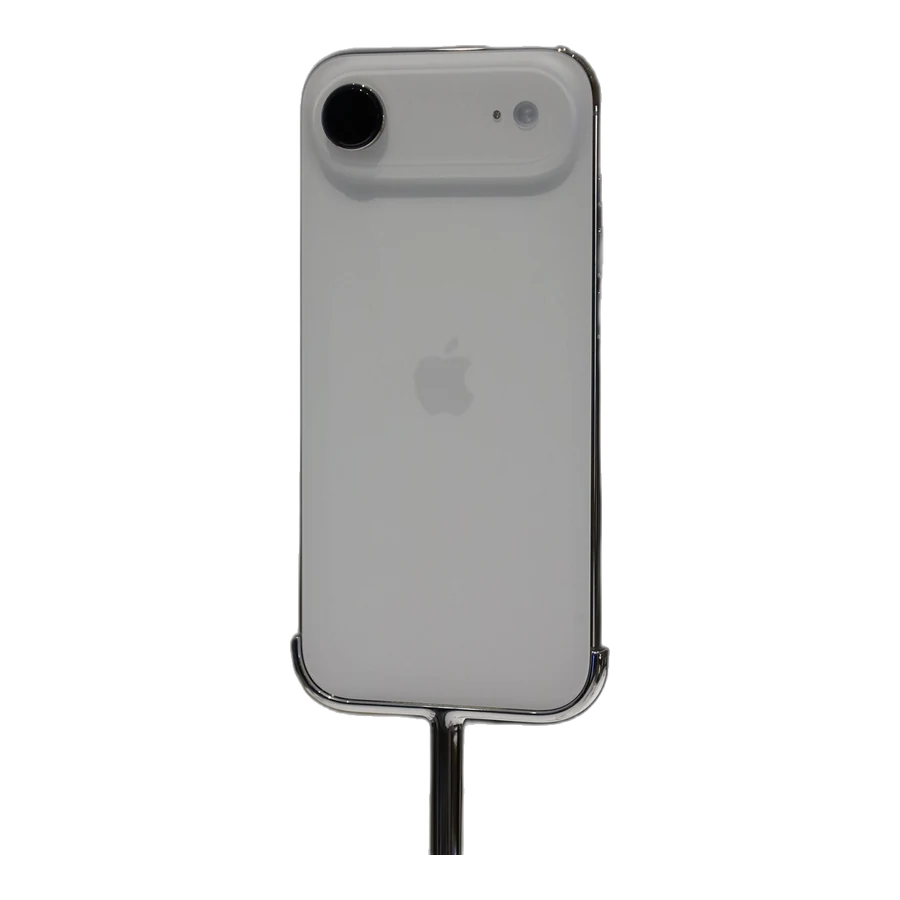
iPhone Air
Best for: Almost anything except photographing rooms
A beautiful phone and the wrong tool for this job. The Air ships with a single rear camera and no ultra-wide, which is the one lens interior work genuinely depends on. You can shoot a living room by backing into a corner, but you cannot back through a wall, and small bathrooms and second bedrooms become nearly impossible to frame honestly. If the Air is your phone, borrow something else for shoot day or hire it out.
What works
- The main camera itself is very good
- Light enough that handheld frames stay level
What does not
- No ultra-wide lens — the single biggest limitation on this whole list
- Flagship price for a camera system that cannot do the assignment
- No ProRAW
| Ultra-wide | None |
|---|---|
| Main | 48MP Fusion |
| RAW | None — HEIF/JPEG |
| Best listing lens | Main only, so plan on stitching or shooting from doorways |
| Photo | Ahmad Ali Karim · CC0 |
The 10 professional cameras, scored
A real camera buys you three things a phone cannot: a sensor large enough to hold a bright window and a dark corner in one frame, a lens you choose rather than inherit, and a RAW file with enough information in it to survive being pushed around. It costs you money, weight, and a learning curve. Here is what each body is actually good for.
Ten cameras that earn their place
Bodies only — the lens recommendation for each one is in its review, and it matters more than the body does.
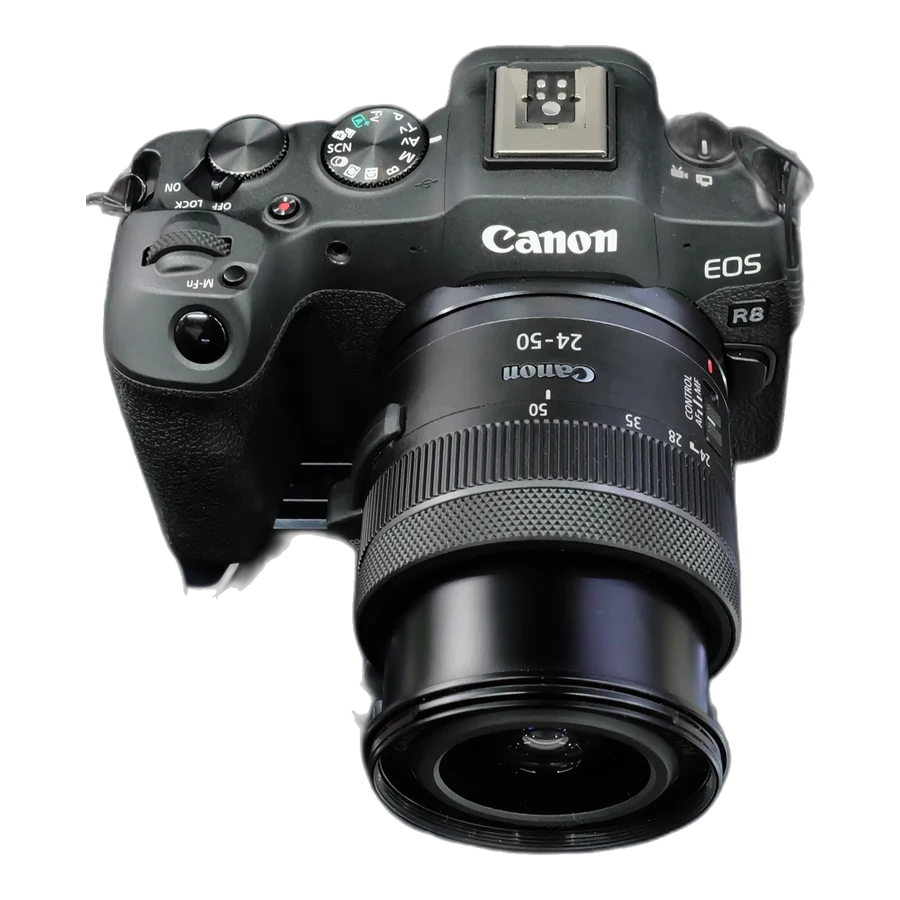
Canon EOS R8
Best for: The cheapest honest way into full-frame property work
The best value on this entire page. A full-frame sensor, Canon's colour, real CR3 files and a body light enough to forget you are carrying it — for roughly the price of a flagship phone. What you give up is build quality, a second card slot and in-body stabilisation, none of which matter much when the camera spends its working life bolted to a tripod. For a host or a new photographer moving up from a phone, start here.
What works
- Full frame and real RAW files for around the price of a flagship phone
- Light enough to carry all day
- Canon colour means less editing per frame
What does not
- No in-body stabilisation — you need the tripod
- Single card slot and a plastic-feeling body
- Modest battery life over a long shoot day
| Sensor | 24.2MP full frame |
|---|---|
| RAW | 14-bit CR3 |
| Bracketing | Up to 7 frames |
| Pair it with | RF 14–35mm f/4 or a used EF 16–35mm plus adapter |
| Photo | 昼落ち · CC BY-SA 4.0 |
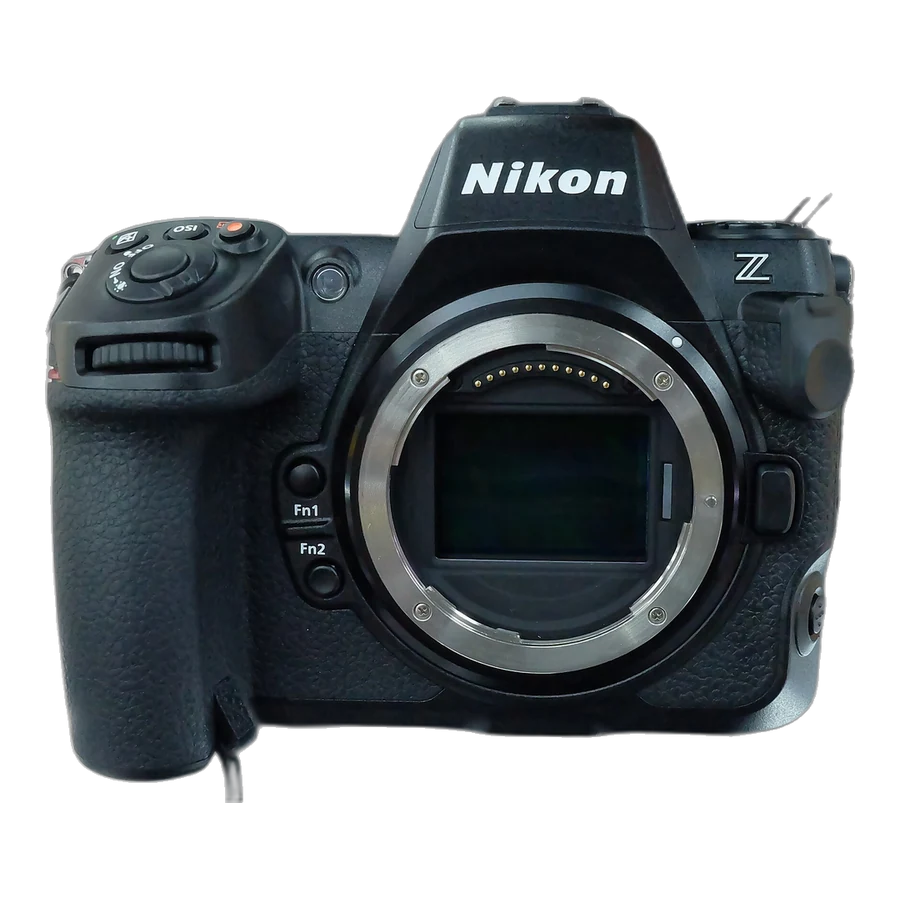
Nikon Z8
Best for: Shooting into windows without losing the view outside
The Z8's dynamic range is the reason it belongs in this conversation. Interior photography is fundamentally an exposure problem — a window four or five stops brighter than the wall beside it — and this sensor holds both ends better than almost anything at the price. Nikon's NEF files take heavy shadow lifting without falling apart. The body is dense and serious, the menus take a weekend to learn, and neither of those is a real objection once you have.
What works
- Outstanding dynamic range where interiors need it most
- NEF files tolerate aggressive shadow recovery
- Weather-sealed, built to be used badly and keep working
What does not
- Heavy, especially with a wide zoom on the front
- Menu system is deep and not obvious on day one
| Sensor | 45.7MP full frame |
|---|---|
| RAW | 14-bit NEF, lossless compressed |
| Bracketing | Up to 9 frames |
| Pair it with | Z 14–30mm f/4 S — small, sharp, takes filters |
| Photo | 昼落ち · CC BY-SA 4.0 |
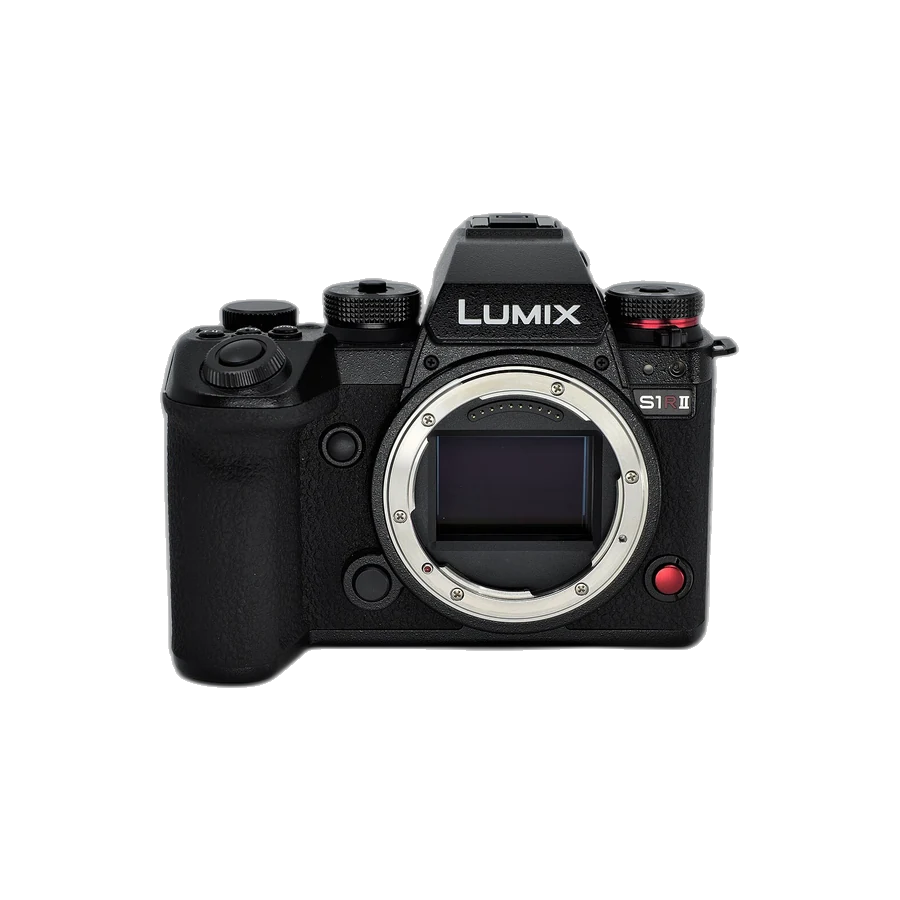
Lumix S1R II
Best for: High-resolution work without Sony or Canon pricing
Forty-four megapixels, in-body stabilisation good enough to hand-hold frames you have no business hand-holding, and a price that undercuts the obvious alternatives. Panasonic's problem has never been image quality; it is that fewer people build workflows around L-mount, so lens choice and secondhand availability are thinner. If you already own L-mount glass or you are starting fresh and shopping on value, this is the high-resolution body to look at.
What works
- High resolution at a real discount to Sony and Canon
- Stabilisation that saves handheld frames in dim rooms
- Excellent video if you also deliver walkthroughs
What does not
- Smaller L-mount lens ecosystem than Sony E or Canon RF
- Autofocus still trails the class leaders
| Sensor | 44.3MP full frame |
|---|---|
| RAW | 14-bit RW2 |
| Bracketing | Up to 7 frames |
| Pair it with | Lumix S 16–35mm f/4 |
| Photo | Mateusz Stopczynski · CC BY-SA 4.0 |
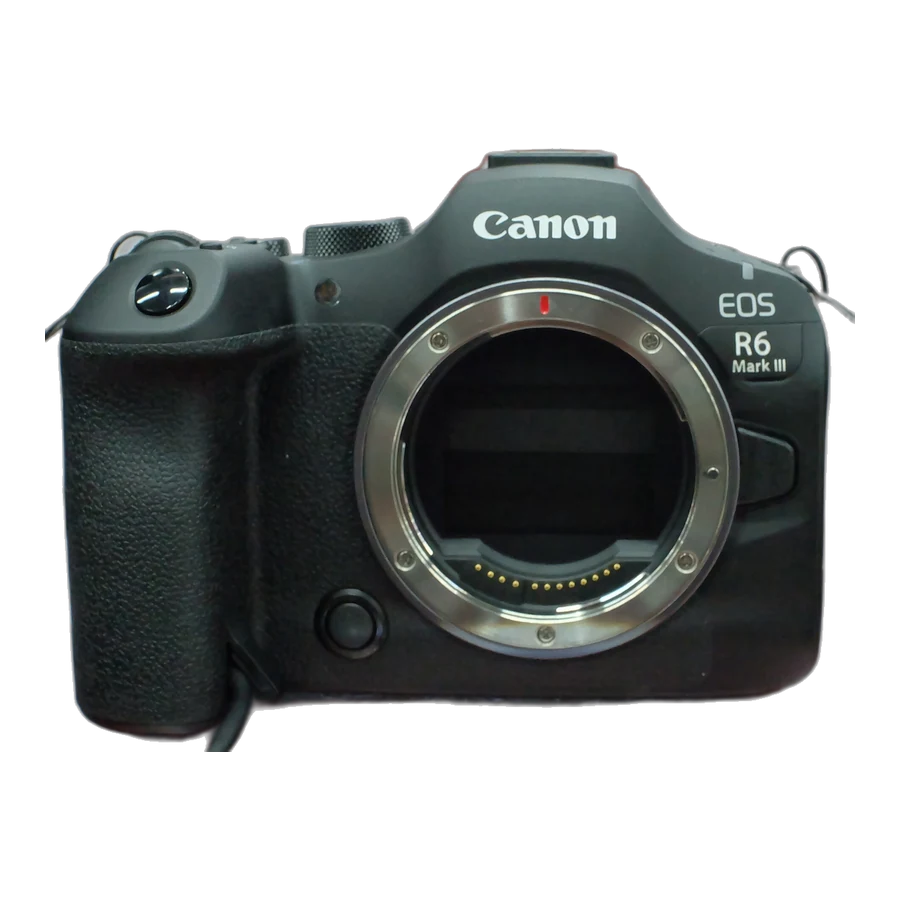
Canon EOS R6 Mark III
Best for: The realistic professional buy for property work
If someone shooting listings full time asked me for one recommendation without a resolution obsession attached, this would be it. Thirty-two megapixels is plenty for any web gallery and most print, the files are manageable, Canon's colour saves editing time on every single frame, and the whole thing costs meaningfully less than the flagship bodies. It is not the highest-resolution camera here and that turns out not to matter.
What works
- 32MP is enough for everything a listing needs, at a manageable file size
- Canon colour keeps editing fast
- Substantially cheaper than the flagship bodies
What does not
- Less cropping room than the 45MP+ bodies
- RF wide-angle glass is still the expensive part
| Sensor | 32.5MP full frame |
|---|---|
| RAW | 14-bit CR3 |
| Bracketing | Up to 7 frames |
| Pair it with | RF 15–35mm f/2.8 or the lighter RF 14–35mm f/4 |
| Photo | 昼落ち · CC0 |
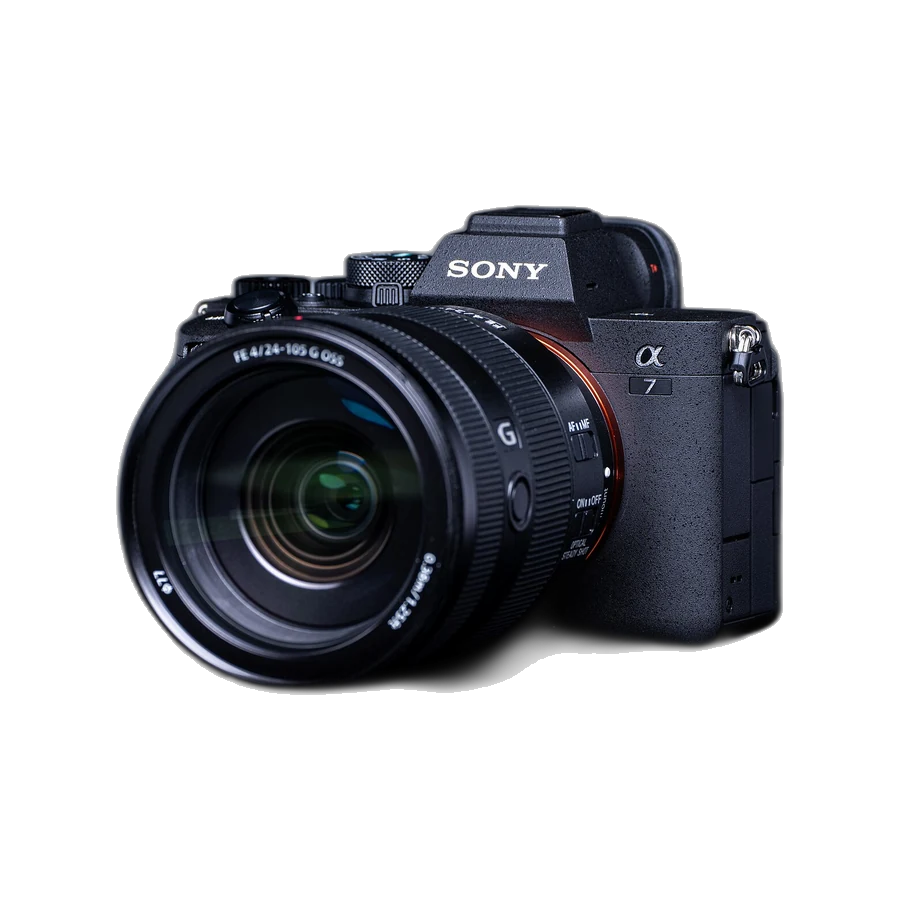
Sony α7 IV
Best for: The most common camera on a working real-estate shoot
Walk onto a real-estate shoot and this is what you will most often find on the tripod. Thirty-three megapixels, reliable bracketing, and the largest lens ecosystem of any mount, which matters more than the body does — Sony E gives you first-party and third-party ultra-wides at every price. It has been superseded by the α7 V, which is a better camera, but this one is now excellent value used and does the job without argument.
What works
- Huge lens ecosystem, including affordable third-party ultra-wides
- Very good value on the used market
- ARW files edit beautifully
What does not
- Sony menus remain a chore
- Superseded by the α7 V, so expect it to keep depreciating
| Sensor | 33MP full frame |
|---|---|
| RAW | 14-bit ARW |
| Bracketing | Up to 9 frames |
| Pair it with | Sony 16–35mm f/4 PZ or Tamron 17–28mm f/2.8 |
| Photo | Henry Söderlund from Helsinki, Finland, Finland · CC BY 2.0 |
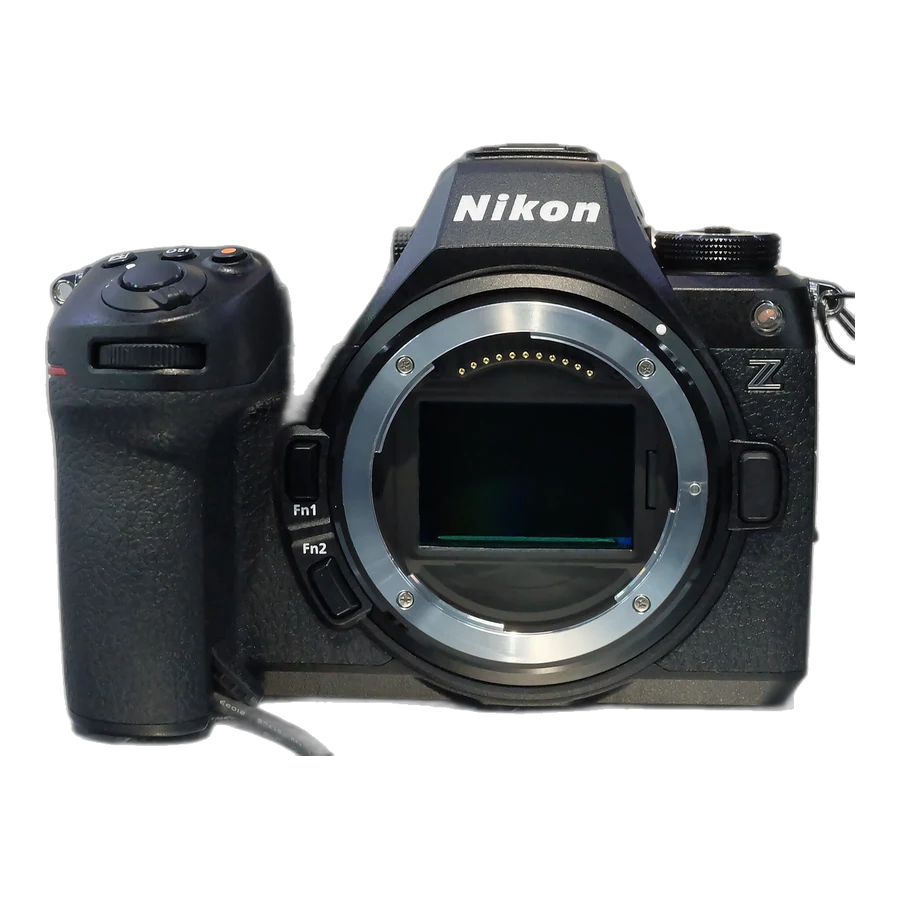
Nikon Z6III
Best for: Dim rooms and long bracketed sequences
Fewer megapixels than most of this list, and for listing work that is close to irrelevant — 24 megapixels is far more than any gallery displays. What you get instead is excellent low-light behaviour and a bracketing system that will happily run nine frames without complaint, which is exactly what a room with a west-facing window needs at five o'clock. Pair it with the 14–30mm f/4 and you have a light, complete, genuinely affordable kit.
What works
- Strong low-light performance for dim interiors
- Deep bracketing up to nine frames
- Pairs with the small, sharp Z 14–30mm f/4
What does not
- 24MP gives you the least cropping room here
- Fewer third-party Z-mount wide-angle options than Sony E
| Sensor | 24.5MP full frame |
|---|---|
| RAW | 14-bit NEF |
| Bracketing | Up to 9 frames |
| Pair it with | Z 14–30mm f/4 S |
| Photo | 昼落ち · CC0 |
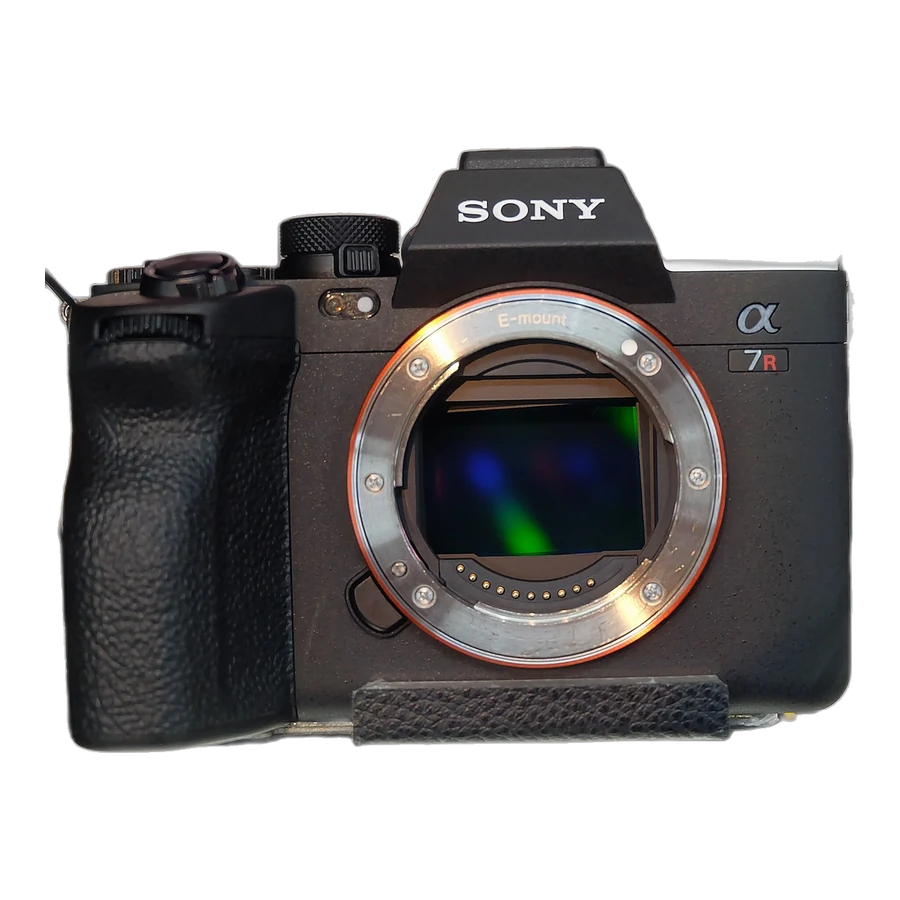
Sony α7R V
Best for: Large homes where detail is the selling point
Sixty-one megapixels is more than a listing thumbnail will ever show, and that is exactly the point — it is headroom. You can crop a wide frame into three usable compositions, correct heavy lens distortion without running out of pixels, and print. For estates, architectural properties and anything marketed as a design object, this is the body that justifies itself. For a two-bedroom condo it is expensive overkill, and the files will slow your laptop to a crawl.
What works
- Enormous cropping and correction headroom
- Class-leading dynamic range for bright-window interiors
- ARW files are the most forgiving thing you can hand an editor
What does not
- Files are large enough to change how you work
- Expensive body before you have bought a single lens
- More camera than most listings need
| Sensor | 61MP full frame |
|---|---|
| RAW | 14-bit ARW, uncompressed or lossless |
| Bracketing | Up to 9 frames |
| Pair it with | A 16–35mm f/2.8 or 12–24mm |
| Photo | 昼落ち · CC BY-SA 4.0 |
Canon EOS R5 Mark II
Best for: One body that shoots the stills and the walkthrough video
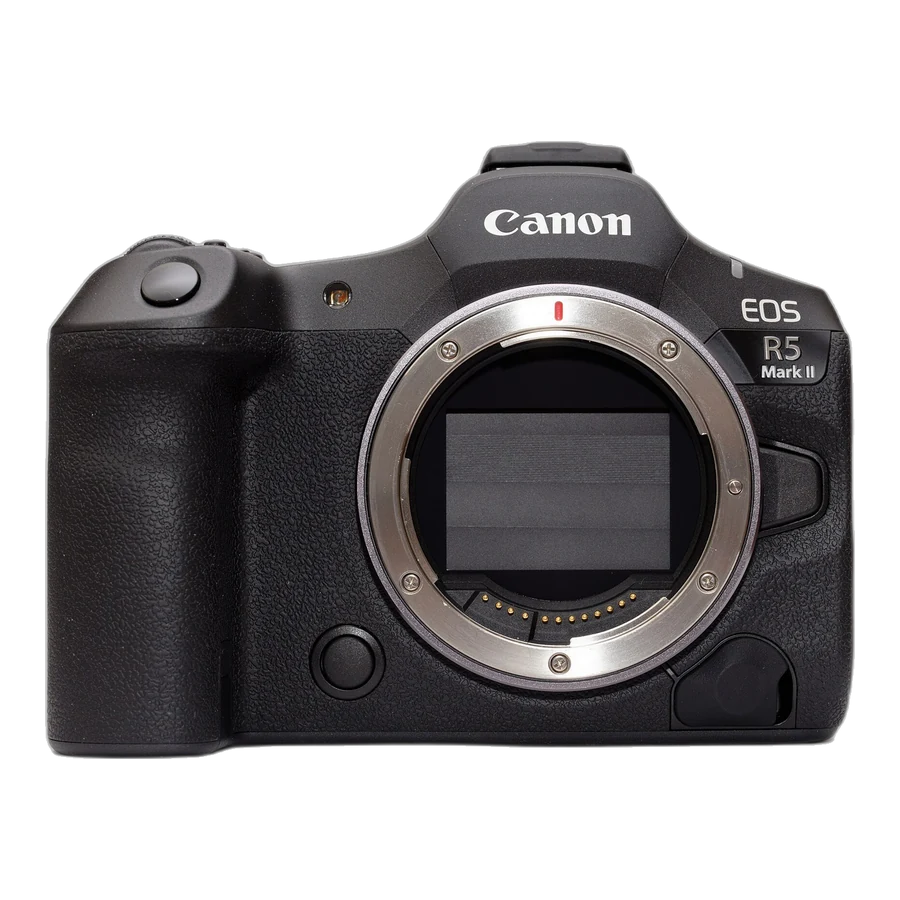
Canon's colour out of camera is the least work of any system here — skin, wood and warm interior light all land somewhere believable before you touch a slider. Forty-five megapixels is the sensible middle: real cropping room without α7R V file sizes. It also shoots video good enough that you can deliver a property walkthrough from the same body on the same afternoon. It is expensive, and Canon's wide zooms are not cheap either.
What works
- Canon colour needs the least correction of any system
- 45MP is the practical sweet spot for property work
- Genuinely capable video from the same body
What does not
- Body and RF wide-angle glass together is a serious investment
- Heavier than the mirrorless bodies it competes with
| Sensor | 45MP full frame |
|---|---|
| RAW | 14-bit CR3 |
| Bracketing | Up to 7 frames |
| Pair it with | RF 15–35mm f/2.8 or RF 14–35mm f/4 |
| Photo | D. Benjamin Miller · CC0 |
Fujifilm X-T5
Best for: The lightest kit that still delivers professional files
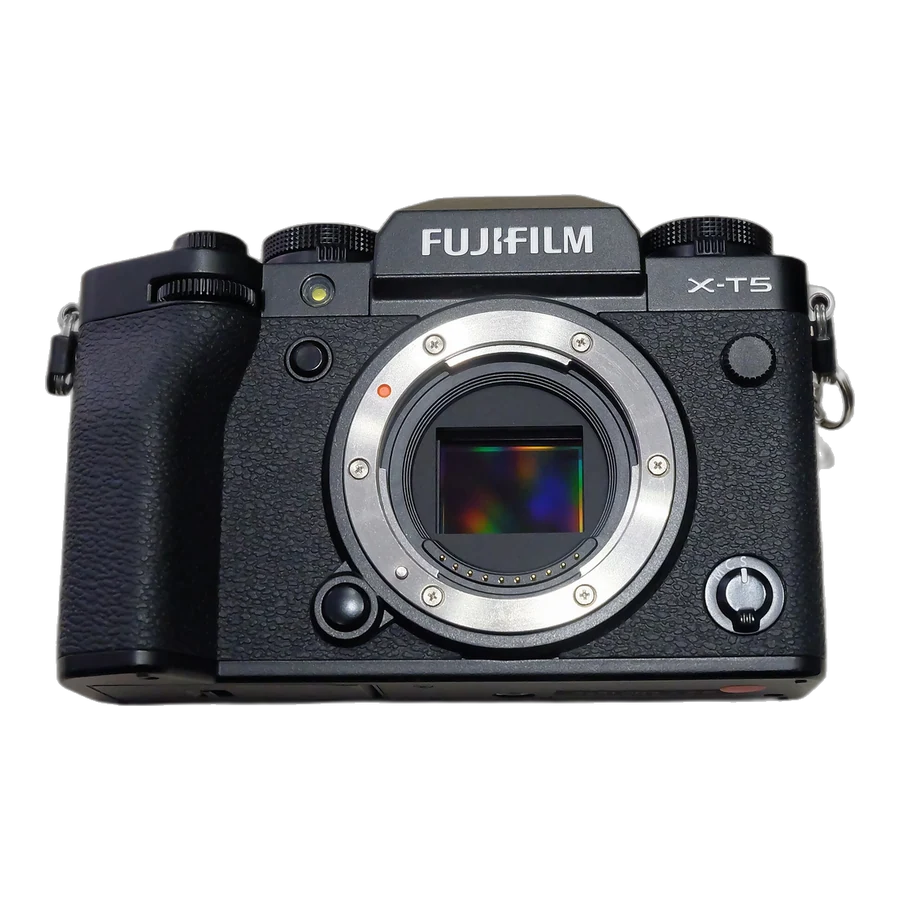
Forty megapixels on a smaller sensor, in a body light enough that carrying it through six properties in a day is not a decision you have to think about. Fujifilm's colour is lovely and its dials mean you set exposure by looking at the camera rather than a menu. The compromise is real: a smaller sensor gives up roughly a stop of shadow performance against full frame, and that stop shows up in exactly the dim corners interiors are full of.
What works
- Very light for a 40MP camera
- Physical dials make manual exposure fast and obvious
- Excellent colour straight out of camera
What does not
- Smaller sensor gives up about a stop in dark corners
- You need an 8–16mm or 10–24mm to match full-frame width
| Sensor | 40MP APS-C |
|---|---|
| RAW | 14-bit RAF |
| Bracketing | Up to 9 frames |
| Pair it with | XF 8–16mm f/2.8 or the lighter XF 10–24mm f/4 |
| Photo | 昼落ち · CC BY-SA 4.0 |
Fujifilm GFX100 II
Best for: Architectural and ultra-luxury work where the image is the product
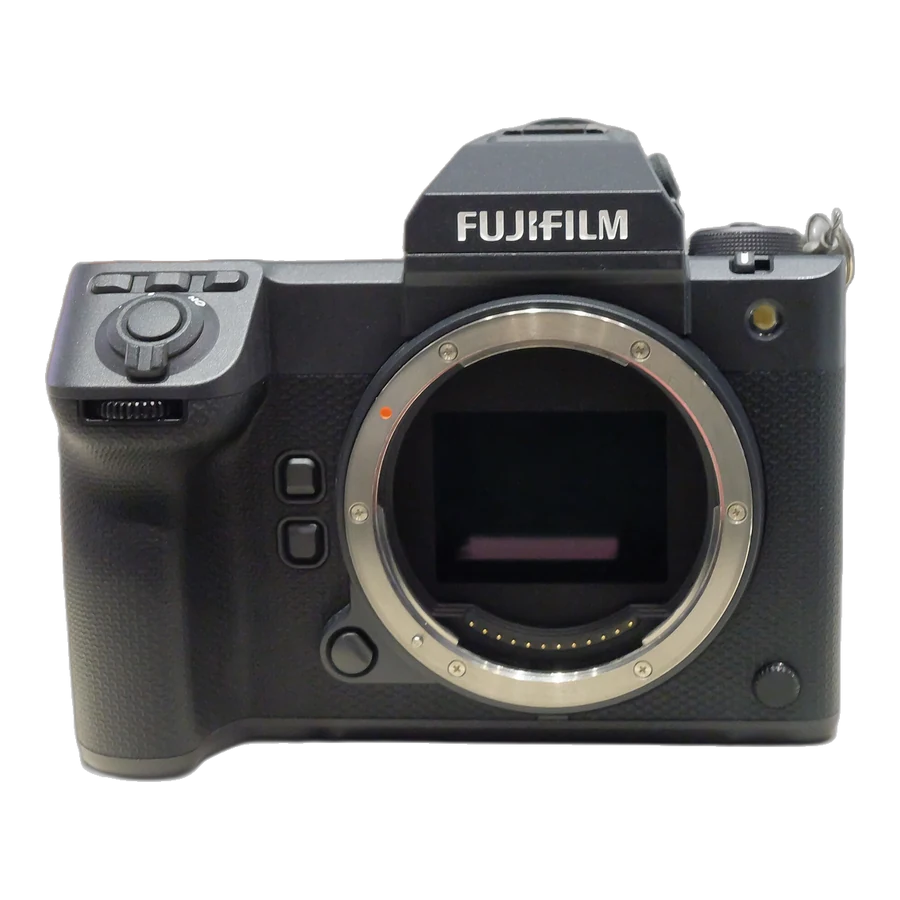
This is not a listing camera. It is an architecture camera that happens to be extraordinary at listings. A 102MP medium-format sensor with 16-bit files renders tonal transitions — a wall meeting a shadow, late light across plaster — with a smoothness full frame cannot match. It is also slow, heavy, expensive, and complete overkill for anything under about five million dollars of property. Include it in your shortlist only if you are selling the photography itself.
What works
- Tonal rendering nothing else on this list can match
- 16-bit files give extraordinary editing latitude
- The right tool for architectural and design-led marketing
What does not
- Costs more than most hosts will ever spend on marketing
- Slow to work with and heavy to carry
- Medium-format wide-angle glass is another serious expense
| Sensor | 102MP, 43.8×32.9mm medium format |
|---|---|
| RAW | 16-bit RAF |
| Bracketing | Up to 9 frames |
| Pair it with | GF 20–35mm f/4 R WR |
| Photo | 昼落ち · CC BY 4.0 |
All 31 devices, side by side
Every score on one page. The overall column is the weighted result; sort by whichever axis matches how you are actually choosing.
Side by side
| iPhone 17 Pro Max | Phone | 13mm · 48MP | Apple ProRAW | $1,199+ | 9.4 | 9.5 | 6.6 | 9.4 | 8.9 |
| iPhone 17 Pro | Phone | 13mm · 48MP | Apple ProRAW | $1,099+ | 9.4 | 9.5 | 7.0 | 9.4 | 8.9 |
| iPhone 16 Pro Max | Phone | 13mm · 48MP | Apple ProRAW | $900–1,050 used | 9.1 | 9.4 | 7.4 | 9.3 | 8.9 |
| Pixel 10 Pro | Phone | 48MP · 123° | RAW (DNG) | $999+ | 9.3 | 9.2 | 7.6 | 8.6 | 8.8 |
| Pixel 11 Pro | Phone | 48MP · 123° | RAW (DNG) | $1,099+ | 9.3 | 9.2 | 7.3 | 8.6 | 8.7 |
| Galaxy S26 Ultra | Phone | 50MP · 120° | Expert RAW (DNG) | $1,299+ | 9.5 | 8.4 | 6.8 | 9.2 | 8.7 |
| Galaxy S25 Ultra | Phone | 50MP · 120° | Expert RAW (DNG) | $950–1,100 | 9.2 | 8.4 | 7.8 | 9.1 | 8.7 |
| Xiaomi 17 Ultra | Phone | 14mm · 50MP | DNG + Leica profiles | $1,300+ (import) | 9.6 | 7.6 | 7.2 | 9.4 | 8.7 |
| Canon EOS R8 | Camera | 24.2MP full frame | 14-bit CR3 | ~$1,200–1,400 body | 8.5 | 8.4 | 9.2 | 9.0 | 8.7 |
| iPhone 17 | Phone | 13mm · 48MP | HEIF / JPEG only | $799+ | 8.8 | 9.6 | 8.2 | 7.4 | 8.6 |
| vivo X300 Pro | Phone | 50MP · ultra-wide | RAW (DNG) | $1,100+ (import) | 9.2 | 7.8 | 7.6 | 9.0 | 8.6 |
| Nikon Z8 | Camera | 45.7MP full frame | 14-bit NEF | ~$3,300–3,700 body | 9.6 | 7.4 | 7.0 | 9.6 | 8.6 |
| Lumix S1R II | Camera | 44.3MP full frame | 14-bit RW2 | ~$3,300 body | 9.5 | 7.0 | 7.6 | 9.3 | 8.6 |
| Canon EOS R6 Mark III | Camera | 32.5MP full frame | 14-bit CR3 | ~$2,800 body | 9.0 | 8.2 | 7.4 | 9.2 | 8.6 |
| Sony α7 IV | Camera | 33MP full frame | 14-bit ARW | ~$2,000–2,400 body | 8.9 | 7.6 | 8.4 | 9.3 | 8.6 |
| Nikon Z6III | Camera | 24.5MP full frame | 14-bit NEF | ~$2,000–2,500 body | 8.9 | 7.8 | 8.2 | 9.3 | 8.6 |
| Honor Magic 8 Pro | Phone | 12mm · 50MP | RAW (DNG) | $1,000+ (import) | 9.0 | 8.2 | 7.8 | 8.6 | 8.5 |
| Oppo Find X9 | Phone | 50MP · ultra-wide | RAW (DNG) | $900+ (import) | 8.8 | 8.4 | 8.0 | 8.6 | 8.5 |
| Sony α7R V | Camera | 61MP full frame | 14-bit ARW | ~$3,300–3,800 body | 9.8 | 6.8 | 6.4 | 9.6 | 8.5 |
| Canon EOS R5 Mark II | Camera | 45MP full frame | 14-bit CR3 | ~$3,400–4,300 body | 9.7 | 7.6 | 6.0 | 9.5 | 8.5 |
| OnePlus 15 | Phone | 16mm · 50MP | RAW (DNG) | $899+ | 8.4 | 8.6 | 8.4 | 8.4 | 8.4 |
| Fujifilm X-T5 | Camera | 40MP APS-C | 14-bit RAF | ~$1,500–1,700 body | 8.7 | 7.2 | 8.6 | 8.8 | 8.4 |
| Pixel 9a | Phone | 13MP · ultra-wide | RAW (DNG) | $399–499 | 7.6 | 9.2 | 9.4 | 7.2 | 8.2 |
| iPhone 16 | Phone | 13mm · 12MP | HEIF / JPEG only | $650–750 | 7.8 | 9.5 | 8.4 | 7.2 | 8.1 |
| iPhone 15 | Phone | 13mm · 12MP | HEIF / JPEG only | $500–600 used | 7.4 | 9.4 | 8.8 | 7.0 | 8.0 |
| Fujifilm GFX100 II | Camera | 102MP medium format | 16-bit RAF | ~$7,500 body | 10.0 | 5.6 | 4.4 | 9.4 | 7.9 |
| Galaxy Z Fold 7 | Phone | 12MP · ultra-wide | Expert RAW (DNG) | $1,800+ | 8.2 | 8.0 | 5.4 | 8.6 | 7.7 |
| Galaxy A56 | Phone | 12MP · ultra-wide | JPEG only | $400–500 | 7.0 | 8.8 | 9.0 | 6.2 | 7.6 |
| Motorola Edge 60 Pro | Phone | 50MP-class ultra-wide | Limited | $500–600 | 7.2 | 8.6 | 8.6 | 6.6 | 7.6 |
| Redmi Note 14 Pro+ | Phone | 8MP-class ultra-wide | Limited | $300–400 | 6.2 | 8.4 | 8.8 | 5.8 | 7.1 |
| iPhone Air | Phone | No ultra-wide | HEIF / JPEG only | $999+ | 6.4 | 9.4 | 5.6 | 7.0 | 7.0 |
Phone or camera: where the line actually is
The line is not where most people think it is. It is not about resolution — a listing photo displays at a fraction of what any of these devices produce. It is about three specific failures that phones still have and cameras do not.
Dynamic range, which is really about windows
Almost every interior shot is the same technical problem. The window is enormously brighter than the room. Your eye handles this without noticing. A camera has to choose: expose for the room and the window becomes a white rectangle, or expose for the window and the room goes dark.
Phones solve it computationally. They shoot a burst at different exposures and merge them, and the good ones — Pixel and iPhone especially — do this well enough that most people never think about it. The catch is that the merge happens before you see the image, using decisions the phone made, and there is a point past which it stops working. A west-facing living room at five in the afternoon is past that point.
A full-frame camera solves it optically, by having a sensor large enough that both ends of the range fit in one exposure, and then by bracketing when they do not. The result is a photograph where you can see the garden through the glass and the texture of the sofa in the same frame, without the slightly synthetic halo that heavy computational merging leaves around window frames.
Straight lines
Architectural photography has one rule that separates a professional frame from an amateur one: vertical lines stay vertical. Door frames, window edges, the corners of a room. Tilt a camera up or down even slightly and those lines converge, and the room reads as though it is falling over. Nobody consciously notices this. Everybody feels it.
You fix it by keeping the sensor perfectly level — which is why real-estate photographers work on a tripod at roughly chest height and use a spirit level — and by shooting a lens with low distortion. Phones can do the first part if you turn on the grid and level indicator. They struggle with the second, because a wide phone lens has a lot of built-in distortion that software has to correct, and the correction is never perfect at the frame edges.
Consistency across a set
A gallery of twenty photos that all share the same colour, contrast and brightness reads as professional. The same twenty photos with slightly different white balance in each reads as a collection of snapshots, even if each individual image is fine.
Phones adjust automatically between shots. Walk from a warm-lit bedroom to a daylit kitchen and the phone changes its mind about what white is. You can correct it afterwards, but you are correcting twenty images individually rather than applying one adjustment to a whole set. A camera in manual mode with a fixed white balance gives you twenty frames that already match.
So where is the line?
If you have one property, decent windows, and you are willing to shoot in good light on a tripod, a current flagship phone is genuinely enough. Spend the money you saved on staging and lighting instead — it will do more for the photographs than a better sensor would.
If you manage several properties, if any of them are dark, if you are competing in a market where every other listing has been professionally shot, or if you are selling a design-led property where the interior is the product — a camera pays for itself. Not because the photos are twice as good, but because the failures stop happening.
The lens matters more than the body
Here is the part that catches people out: on a camera, the lens matters more than the body, and interior work needs a specific kind of lens that is not the one that comes in the box.
Kit zooms usually start at 24mm or 28mm. That is not wide enough for a bedroom. What you want is something that reaches 14mm to 16mm on full frame, or roughly 10mm on APS-C. That is the difference between photographing a room and photographing part of a room.
The specific recommendations, by system:
- Canon RF — the RF 15–35mm f/2.8 is the professional choice and priced accordingly. The RF 14–35mm f/4 is lighter, cheaper, goes wider, and on a tripod the smaller aperture costs you nothing. For property work, take the f/4.
- Sony E — the biggest ecosystem, which is the real argument for the system. The Sony 16–35mm f/4 PZ is compact and sharp; the Tamron 17–28mm f/2.8 is a genuine bargain. Sony's own 12–24mm goes wider than most people need.
- Nikon Z — the Z 14–30mm f/4 S is the quiet star of this whole category. It goes properly wide, it is small, it is sharp into the corners, and unlike most ultra-wides it takes standard screw-in filters.
- Fujifilm X — the XF 10–24mm f/4 covers the range for interiors and is the sensible buy. The XF 8–16mm f/2.8 goes wider and costs considerably more.
- L-mount — the Lumix S 16–35mm f/4 is the natural partner for the S1R II, and Sigma's L-mount wides are worth looking at.
Two things to avoid. Fisheye lenses, which bend the room into a bowl and read as a gimmick. And going too wide — anything past about 14mm on full frame starts distorting furniture near the frame edges badly enough that guests notice the room does not look like that when they arrive. Complaints about rooms looking smaller in person almost always trace back to an over-wide lens rather than a dishonest host.
Which files are actually easy to edit
This is the section most gear guides skip, and it is the one that determines whether your photos ever actually get finished. A file you cannot edit comfortably is a file you will not edit.
What RAW actually buys you
A JPEG or HEIF is a finished photograph. The device made decisions about exposure, white balance, contrast, sharpening and noise, baked them in, and threw away the data it did not need. You can adjust it, but you are adjusting a cooked image, and it falls apart quickly when you push.
A RAW file is the sensor data before any of those decisions. You set the white balance afterwards. You lift the shadows in the corner of the room by two stops and it holds together. You correct the lens distortion with a proper profile instead of whatever the phone applied automatically. For interior work — where the single most common edit is brightening a dark corner without wrecking the window — this is not a subtlety. It is the difference between a usable photo and a wasted one.
Which devices give you a real file
Among phones, the picture is uneven. Apple restricts ProRAW to the Pro models, so an iPhone 17 gives you the good ultra-wide but not the good file. Samsung's Expert RAW produces proper DNG files with manual control, but it is a separate download rather than the camera app you open by reflex. Google gives you DNG on Pixels including the budget 9a, though Google's computational merge has already happened by the time you get the file, so it is less of a blank canvas than a Samsung DNG. Most mid-range Android phones give you nothing useful.
Among cameras it is universal — every body on this page shoots RAW, and the differences are about file size and how the manufacturer's colour looks before you touch anything.
How hard each file is to work with
Three practical differences show up once the files are on your laptop:
- File size changes your workflow. A 61-megapixel α7R V file is roughly two and a half times the size of a 24-megapixel one. Across a two-hundred-frame shoot that is the difference between editing comfortably on a laptop and watching a progress bar. This is a real reason to choose 24 or 32 megapixels over 45 or 61 for listing work.
- Colour determines how much work each frame takes. Canon files tend to land somewhere believable straight away, particularly with skin and warm interior light. Sony files are neutral and want more input. Fujifilm has its own look, which you will either like or spend time undoing. None of these is wrong, but Canon's is the fastest to get through a set of forty images.
- Phone files have a ceiling you hit suddenly. A ProRAW file takes a stop and a half of shadow lifting gracefully and then gets noisy fast. A full-frame RAW keeps going. If your editing style is heavy, that ceiling matters more than any specification on the box.
Software, briefly
Lightroom is the standard and handles every file format here, including ProRAW and Expert RAW DNGs. Capture One renders Sony and Fujifilm colour beautifully and costs more. Darktable is free and capable if you are patient. On a phone, Lightroom Mobile edits ProRAW and DNG properly and syncs to desktop, which is genuinely the easiest path from a phone shoot to a finished gallery.
Whatever you use, edit one photo properly, then copy those settings across the whole set and adjust individually from there. A consistent gallery beats twenty individually optimised images every time.
The shot list every listing needs
Gear is the easy part. What separates a listing that books from one that does not is usually the shot list and the order it is presented in.
The frames every listing needs
- The hero. One image that carries the whole listing. Usually the main living space from the doorway, or the view, or the pool if there is one. This is the thumbnail — it does the work of the first impression on its own.
- Every bedroom, straight on. Guests count beds. Make each one obvious, made, and lit.
- Every bathroom. Uncomfortable to shoot, non-negotiable to include. A listing without bathroom photos reads as a listing with something to hide.
- The kitchen, wide and then close. One frame for the layout, one for the counter and the coffee setup. Guests planning to cook are looking for both.
- The entrance and the exterior. How guests will recognise the place when they arrive. Reduces the number of "we cannot find it" messages more than anything else you can do.
- Two or three detail shots. The coffee machine, the record player, the towels folded properly, the view from the balcony rail. These are the frames that make a place feel like somewhere specific rather than a floor plan.
- Anything you charge for or advertise. The hot tub, the workspace, the parking space, the crib. If it is in the listing description, it needs a photograph.
Shooting height and angle
Shoot from roughly chest height — about 1.2 to 1.4 metres — and keep the camera level. Too high and the room looks like a floor plan. Too low and the ceiling dominates. Level is what keeps the vertical lines straight, and straight verticals are the single most reliable signal that a photograph was taken by someone who knew what they were doing.
Shoot from corners and doorways rather than the middle of a room. Corners show two walls and give the eye depth. The middle of a room shows one wall and flattens everything.
Before you press anything
Clear the counters completely, then put back two things. Hide the bins, the chargers, the remote controls, the drying rack, the cleaning supplies. Open every curtain and blind. Turn on every lamp — the warm pools of light read as inviting even in a daylit frame. Match your bulbs, because one cool-white bulb in a room of warm ones will fight you through the whole edit. Straighten every cushion, and then straighten them again after you have walked past them.
The most common reason a listing photo looks amateur is not the camera. It is a phone charger on the nightstand.
Windows, light, and the bracketing problem
Interior photography is an exposure problem before it is anything else, and there are exactly three ways to solve it.
Shoot at the right time
The cheapest solution and the one most hosts skip. On a bright day, the difference between a window that is four stops brighter than the room and one that is seven stops brighter is entirely a question of when you stand there. Mid-morning and late afternoon give you light that is bright enough to fill the room and soft enough not to blow out the glass. Direct midday sun through a south-facing window is the hardest thing you will ever try to photograph.
Shoot each room when the light is on it, not all in one pass. That means a shoot day, not a shoot hour, and it is the single highest-return decision in this whole guide.
Bracket, then blend
Bracketing means taking the same frame several times at different exposures — one for the window, one for the room, one or two in between — and combining them afterwards. Every camera on this page does it automatically. Most will run seven frames; the Nikons and the Sonys will run nine.
The technique matters more than the camera. Put the camera on a tripod so the frames align perfectly. Set it to bracket in one-stop or two-stop increments. Shoot the sequence. Blend it in Lightroom's HDR merge, which produces a natural result, or by hand with masks if you want more control.
The mistake to avoid is over-blending. HDR photography earned its bad reputation from images where every shadow was lifted until the picture had no depth left and everything glowed slightly. A good blend looks like a well-exposed photograph, not like an HDR. If the window is a little brighter than the room in your final image, that is correct — that is what a window looks like.
Add light
The professional approach, and more accessible than it sounds. A single flash bounced off the ceiling fills a room evenly and lets you expose for the window. Two are better. You do not need studio lighting; you need one speedlight, a stand, and a willingness to take two frames and combine them.
The simplest version costs nothing: turn on every lamp in the house, and replace mismatched bulbs with warm ones of the same colour temperature. It will not equal a flash, but it will make the room feel lived in, and consistent colour across your bulbs saves you an hour in editing.
The gear that is not a camera
If you have a budget and you have already got a decent phone, this is where the next money should go — well before a better camera.
- A tripod. Not optional. It is what makes bracketing possible, what keeps your camera level, and what forces you to slow down and look at the frame before you shoot it. Any tripod with a level bubble will do. A phone clamp costs a few dollars.
- A level. Most phones have one built into the camera app — turn on the grid and the level indicator in settings. On a camera, use the electronic level in the viewfinder. This single habit fixes the most common amateur mistake on the list.
- Matched light bulbs. Genuinely one of the highest-return purchases here. A set of warm bulbs at the same colour temperature throughout the property saves editing time on every shoot forever.
- A remote or the self-timer. Pressing the shutter shakes the camera. Use a two-second timer at minimum.
- A speedlight, eventually. One flash and a stand transforms what you can do in a dark room. Buy this before you buy a better camera body.
- A microfibre cloth. Phone lenses are covered in fingerprints, and a smeared lens is responsible for more soft, hazy listing photos than any sensor limitation.
When to hire a photographer instead
We market properties for a living, and we still tell hosts to hire a photographer more often than not. Here is the honest arithmetic.
A professional interior shoot generally runs somewhere between two hundred and six hundred dollars for a typical short-term rental, depending on the market and the property size. That is roughly the price of a mid-range phone, and it comes with the two things gear cannot buy: someone who has photographed hundreds of rooms and knows which corner to stand in, and an editing pass that is consistent across the whole set.
Hire out when the property is your primary income, when it is dark or awkwardly laid out, when you are launching into a competitive market and need to look established immediately, or when you have tried it yourself twice and the photos still do not look the way the place feels.
Shoot it yourself when you have one property with good light, when you are testing a new listing before committing, when you need to refresh a few frames after a furniture change, or when the property changes seasonally and you want to keep the gallery current without booking a shoot four times a year.
The middle path works well too: hire a professional once for the core gallery, then shoot your own updates on a phone with the same framing and the same lighting conditions. Match what the photographer did rather than inventing new angles, and the set stays consistent.
When you do hire, ask to see interior work specifically — a portfolio of weddings and portraits tells you nothing about whether someone can handle a bright window. Ask whether they bracket or use flash. Ask how many edited images you get and who owns them. And ask for the files at full resolution, not just web-sized exports.
Ten mistakes that cost you bookings
Almost every listing gallery that underperforms is making at least three of these. None of them are camera problems.
- Crooked verticals. The camera was tilted. The room looks like it is sliding. Fix it with a level, or straighten it in editing before you upload.
- Shooting everything on the ultra-wide. If a room fits comfortably in the main camera, use the main camera. It is sharper, cleaner and less distorted. Save 0.5× for the rooms that genuinely need it.
- Blown-out windows. A solid white rectangle where a view should be. Bracket, or shoot at a different hour, or add light.
- Dark, orange rooms. Shot at night under mixed bulbs with no correction. Shoot in daylight, and match your bulbs.
- Clutter you stopped seeing. Chargers, bins, drying racks, remote controls, shampoo bottles. Walk each room as though you had never been in it.
- Portrait orientation. Airbnb's gallery is built for landscape. Vertical photos get cropped badly and look accidental.
- Too few photos. Every room, every bathroom, the exterior, the entrance. A gallery that skips a bedroom raises a question you do not want raised.
- Too many near-identical photos. Six angles of the same living room is not thoroughness, it is padding, and it buries the rooms guests actually want to see.
- Over-processing. Grass that glows, skies dropped in, walls whiter than any wall. Guests notice the gap on arrival, and that gap turns into a review.
- Never updating. New furniture, new paint, a new season outside. Photos age, and an out-of-date gallery quietly undersells a property you have improved.
What's coming in 2027
Every camera in this guide is one you can buy and shoot with today. A few on the horizon are worth knowing about before you spend — because for the first time in a while, the 2027 flagships are lining up to improve the exact lens this guide cares about.
- Samsung Galaxy S27 Ultra (early 2027). The one to watch for interiors. Samsung is expected to move the ultra-wide to 50 megapixels and sit it behind a noticeably larger main sensor — the combination that decides how a room holds together in a single frame. If the leaks hold, it becomes the phone to beat for listing work, with the usual Samsung caveat that the value only lands if you shoot Expert RAW.
- iPhone 20 Pro (late 2027). Apple's twentieth-anniversary iPhone, and by most accounts the model Apple is really building toward rather than this year's incremental step. Expect the bigger sensor and computational swings to land here. For our purposes, watch the ultra-wide specifically — everything else is secondary for a bedroom.
- Google Pixel 12 Pro (late 2027). Google rarely wins on the spec sheet and usually wins in the edit, so the thing to watch is whether the 123-degree ultra-wide stays while the processing gets a lighter hand. If it does, it remains the easiest phone for a host who never wants to open a manual mode.
- The shift underneath all three. Bigger sensors with LOFIC for better window-versus-shadow range straight out of the phone, variable apertures spreading down the lineup, and ultra-wides finally treated as real cameras instead of an afterthought. Those are the changes that help a small, bright room — not another decorative megapixel on the main lens.
None of this is a reason to wait if you need photos now: a current flagship on a tripod already clears the bar, and the gear was never what held most galleries back. But if you are due an upgrade in 2027 anyway, the ultra-wide is the spec to buy on.
The bottom line
If you skipped to the bottom: buy a tripod, shoot mid-morning, use the main camera wherever the room allows it, keep the verticals straight, and clear the counters. That list will improve your photographs more than any upgrade on this page.
Then, if you are buying: for a phone, get one with a high-resolution ultra-wide and, if you can, one that shoots RAW. For a camera, an entry-level full-frame body with a proper wide zoom will do everything a listing needs, and the money you did not spend on a flagship is better spent on a flash.
And if photography is not the thing you want to spend your weekends learning, hire it out once and shoot your own updates afterwards. That is not a compromise. For most hosts it is simply the right answer.
Image credits and disclosures
- iPhone 17 Pro Max — Deep Blue iPhone 17 Pro Max.jpg by Ahmad Ali Karim, CC0. Backgrounds removed for presentation.
- iPhone 17 Pro — IPhone 17 Pro Max (Cosmic Orange) - 6.jpg by Kyu3a, CC BY-SA 4.0. Backgrounds removed for presentation.
- iPhone 16 Pro Max — IPhone 16 Pro Max (54252162478).jpg by メイド理世, CC BY-SA 2.0. Backgrounds removed for presentation.
- Pixel 10 Pro — Arrière du Google Pixel 10 Pro pierre de lune de 256 Go.jpg by Fabe56, CC BY-SA 4.0. Backgrounds removed for presentation.
- Pixel 11 Pro — Pixel 11 Pro (Olive, back).svg by Mliu92, CC BY-SA 4.0. Vector render, shown against a plain background.
- Galaxy S26 Ultra — Galaxy S26 Ultra - 2.jpg by Kyu3a, CC BY-SA 4.0. Backgrounds removed for presentation.
- Galaxy S25 Ultra — Samsung Galaxy S25 Ultra.jpg by Jakub CA, CC BY 4.0. Backgrounds removed for presentation.
- Xiaomi 17 Ultra — Xiaomi 17 Ultra rear.jpg by 茅野ふたば, CC BY-SA 4.0. Backgrounds removed for presentation.
- iPhone 17 — Sage iPhone 17.jpg by Ahmad Ali Karim, CC0. Backgrounds removed for presentation.
- vivo X300 Pro — Vivo X300 Ultra.jpg by Sororoty928, CC0. Backgrounds removed for presentation.
- Honor Magic 8 Pro — Honor Magic 8 Pro rear.jpg by 茅野ふたば, CC BY-SA 4.0. Backgrounds removed for presentation.
- Oppo Find X9 — Star Grey Oppo Find X8.jpg by Leongyy02, CC BY-SA 4.0. Backgrounds removed for presentation.
- OnePlus 15 — OnePlus 13 back.jpg by Maksdroider, CC BY-SA 4.0. Backgrounds removed for presentation.
- Pixel 9a — Pixel 9a back.jpg by Maksdroider, CC BY 4.0. Backgrounds removed for presentation.
- iPhone 16 — Back of iPhone 16 - 2.jpg by Kyu3a, CC BY-SA 4.0. Backgrounds removed for presentation.
- iPhone 15 — IPhone 15 6.1".jpg by IPHONE 15, CC BY-SA 4.0. Backgrounds removed for presentation.
- Galaxy Z Fold 7 — Samsung Galaxy Z Fold 7 Unfolded.jpg by Matabalt, CC0. Backgrounds removed for presentation.
- Galaxy A56 — Samsung Galaxy A56 5G 2025 (1).jpg by Captainmorlypogi1959, CC BY-SA 4.0. Backgrounds removed for presentation.
- Motorola Edge 60 Pro — Motorola Edge 60 Pro (cropped).jpg by Meniirtjakarintan, CC BY-SA 4.0. Backgrounds removed for presentation.
- Redmi Note 14 Pro+ — Redmi Note 14 Pro+ (2).jpg by 茅野ふたば, CC BY-SA 4.0. Backgrounds removed for presentation.
- iPhone Air — Light Gold iPhone Air.jpg by Ahmad Ali Karim, CC0. Backgrounds removed for presentation.
- Canon EOS R8 — Canon EOS R8 27 may 2023d.jpg by 昼落ち, CC BY-SA 4.0. Backgrounds removed for presentation.
- Nikon Z8 — Nikon Z 8 27 may 2023c.jpg by 昼落ち, CC BY-SA 4.0. Backgrounds removed for presentation.
- Lumix S1R II — Panasonic LUMIX S1RII front view.jpg by Mateusz Stopczynski, CC BY-SA 4.0. Backgrounds removed for presentation.
- Canon EOS R6 Mark III — Canon EOS R6 Mark III 26 nov 2025c.jpg by 昼落ち, CC0. Backgrounds removed for presentation.
- Sony α7 IV — Sony A7 IV (ILCE-7M4) - by Henry Söderlund (51739988735).jpg by Henry Söderlund from Helsinki, Finland, Finland, CC BY 2.0. Backgrounds removed for presentation.
- Nikon Z6III — Nikon Z6III 13 jul 2024d.jpg by 昼落ち, CC0. Backgrounds removed for presentation.
- Sony α7R V — Sony α7R V 10 dec 2022c.jpg by 昼落ち, CC BY-SA 4.0. Backgrounds removed for presentation.
- Canon EOS R5 Mark II — Canon EOS R5 Mark II (front, no body cap).jpg by D. Benjamin Miller, CC0. Backgrounds removed for presentation.
- Fujifilm X-T5 — Fujifilm X-T5 4 nov 2022d.jpg by 昼落ち, CC BY-SA 4.0. Backgrounds removed for presentation.
- Fujifilm GFX100 II — Fujifilm GFX100 II 2 dec 2023e.jpg by 昼落ち, CC BY 4.0. Backgrounds removed for presentation.
All device imagery is from Wikimedia Commons and used under the licence shown against each file; the Pixel 11 Pro is shown as a manufacturer-neutral vector render rather than a photograph. Cavmir is not affiliated with, endorsed by, or sponsored by any manufacturer named on this page, and there are no affiliate links anywhere in this guide.